Skip to content
  • Cart

    Your cart is empty

    Paint Surface Preparation and Coatings

    Sort by

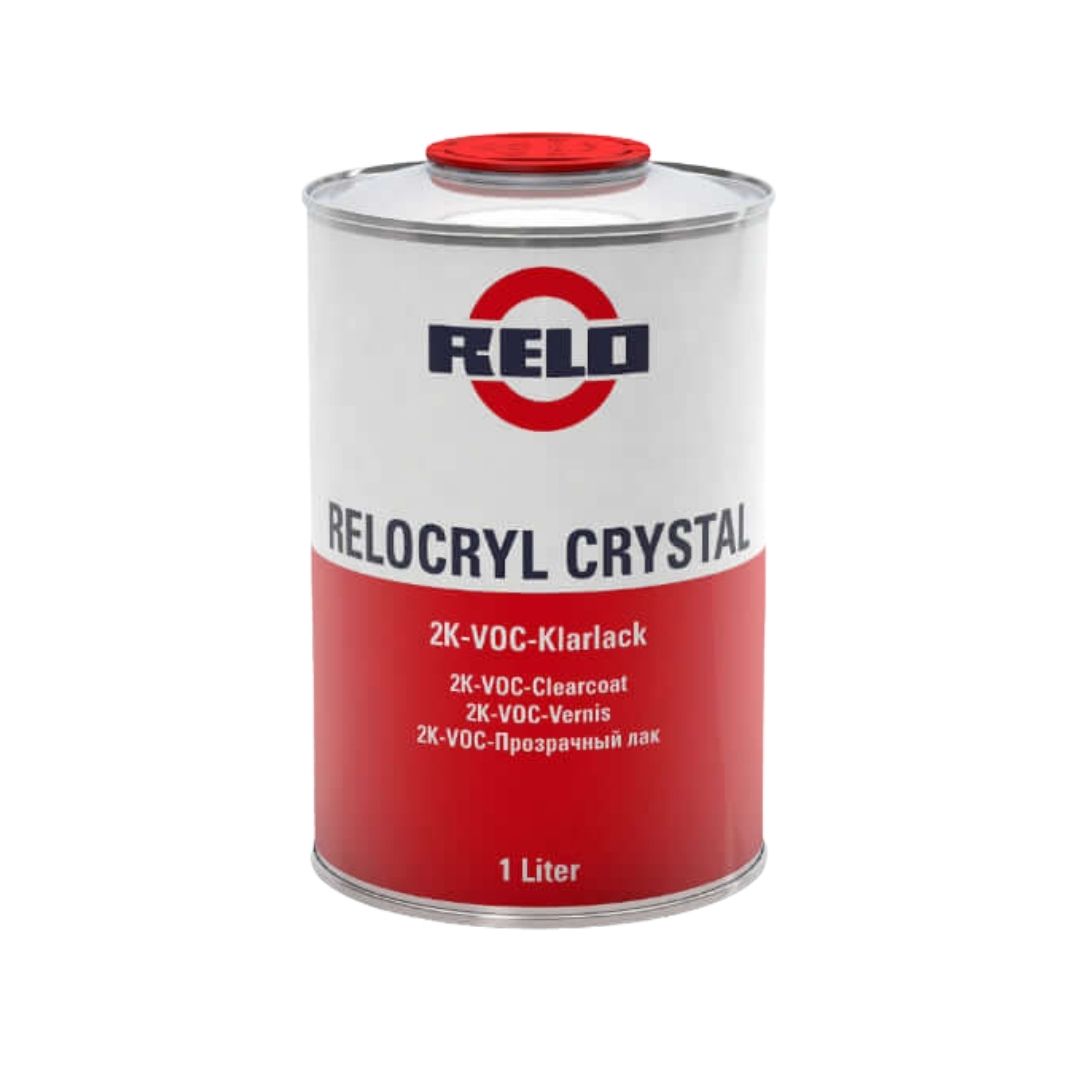
    RELO Crystal Clear Lacquer (VOC) Kit (Standard)
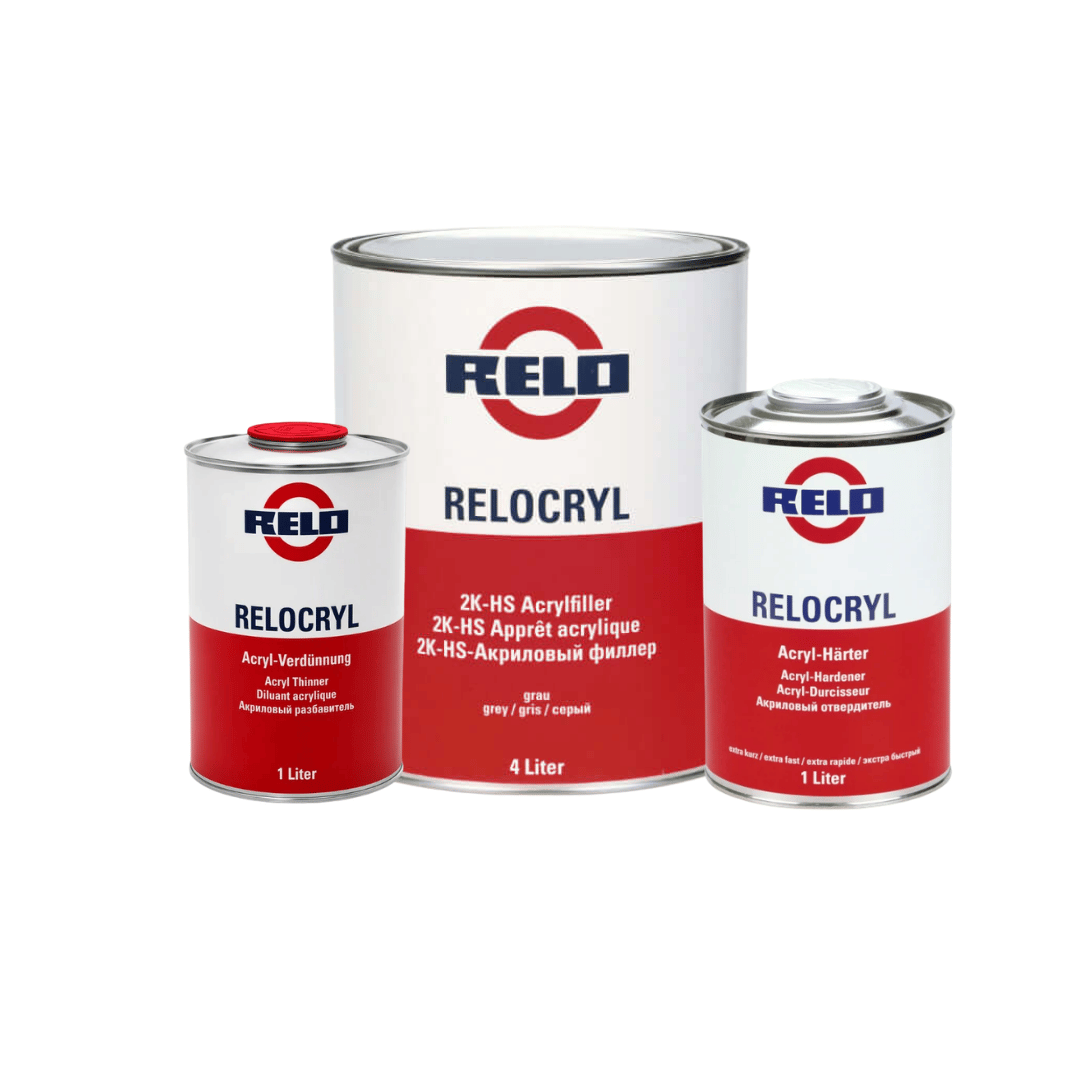
    RELO 4+1 Acrylfiller Kit (Extra Fast)
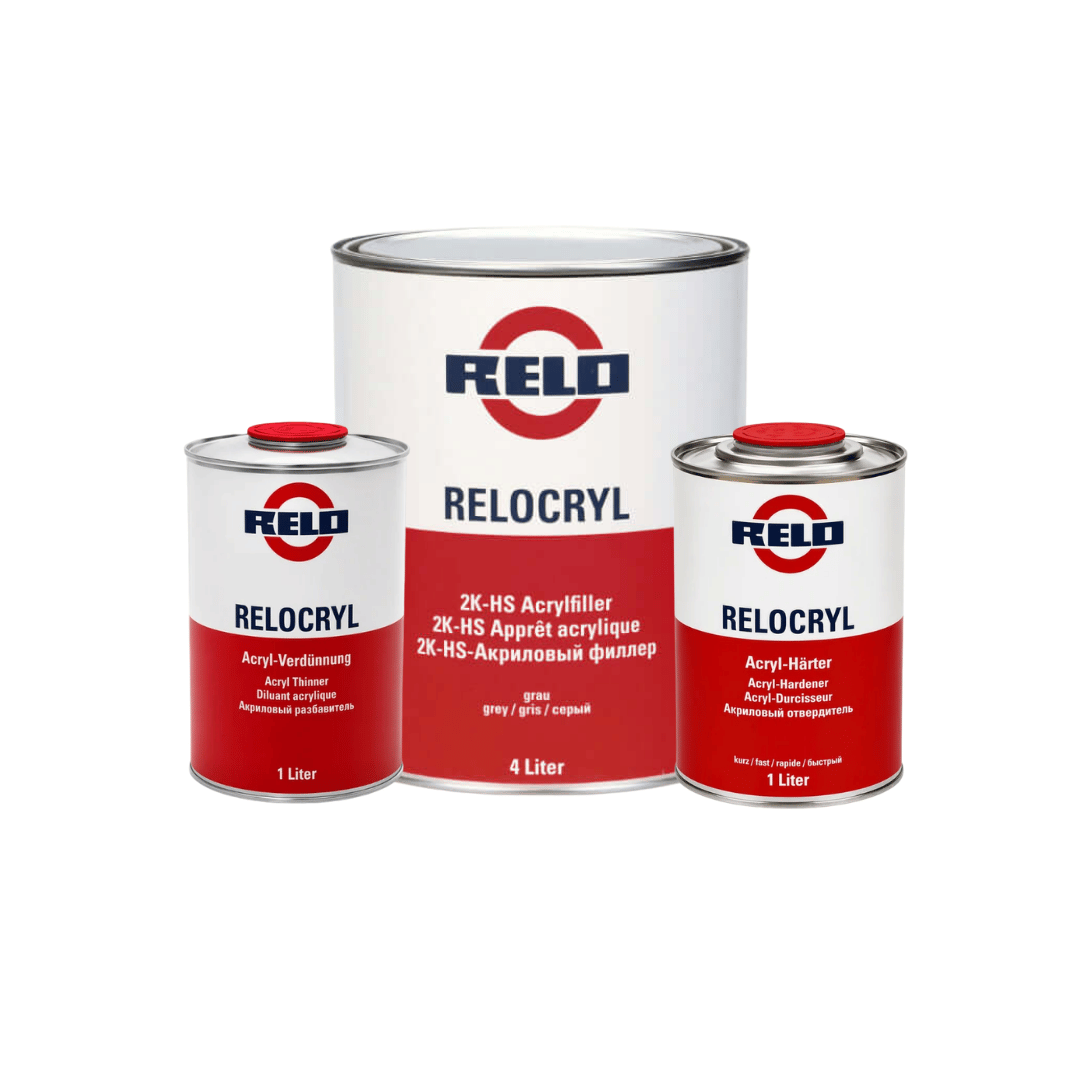
    RELO 4+1 Acrylfiller Kit (Fast)
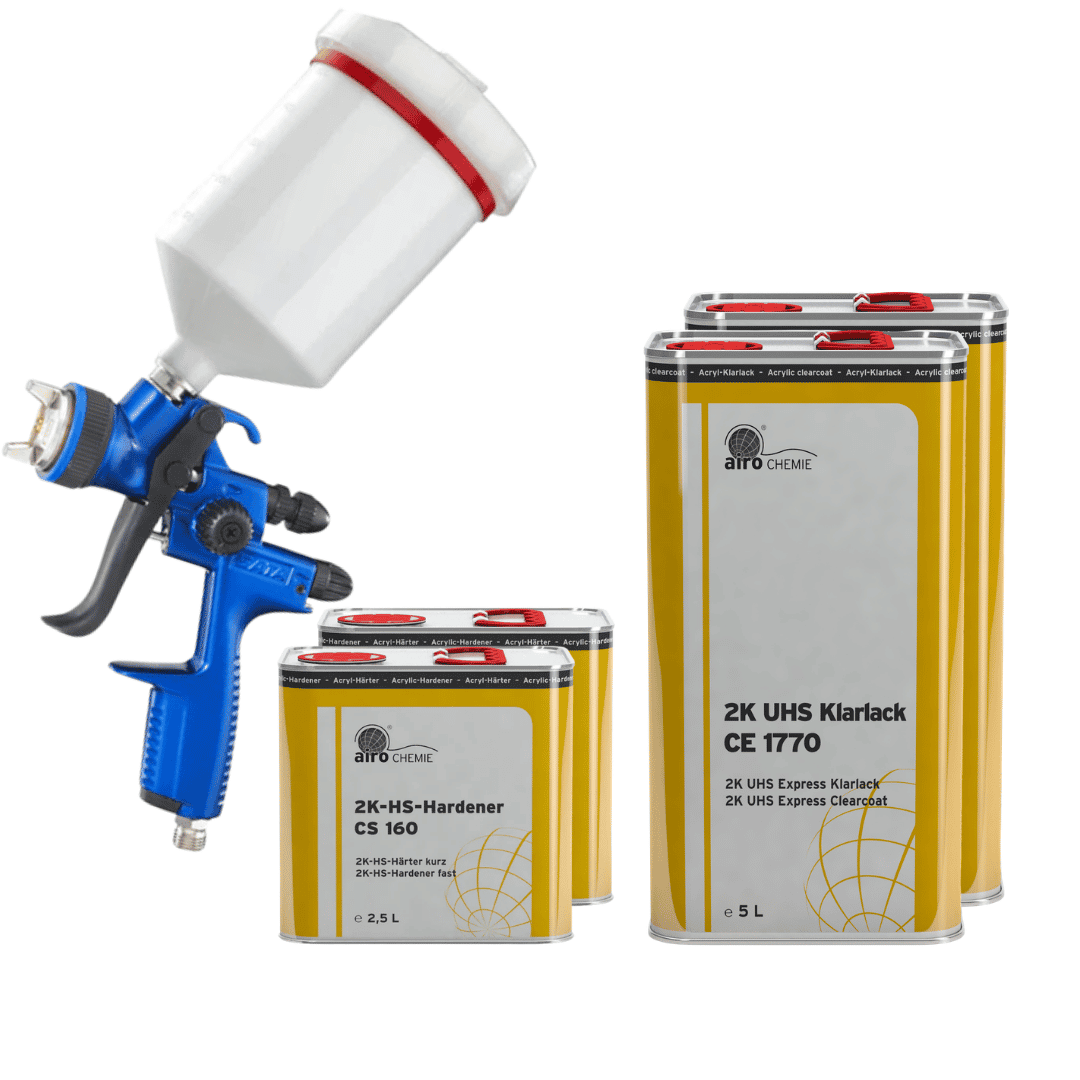
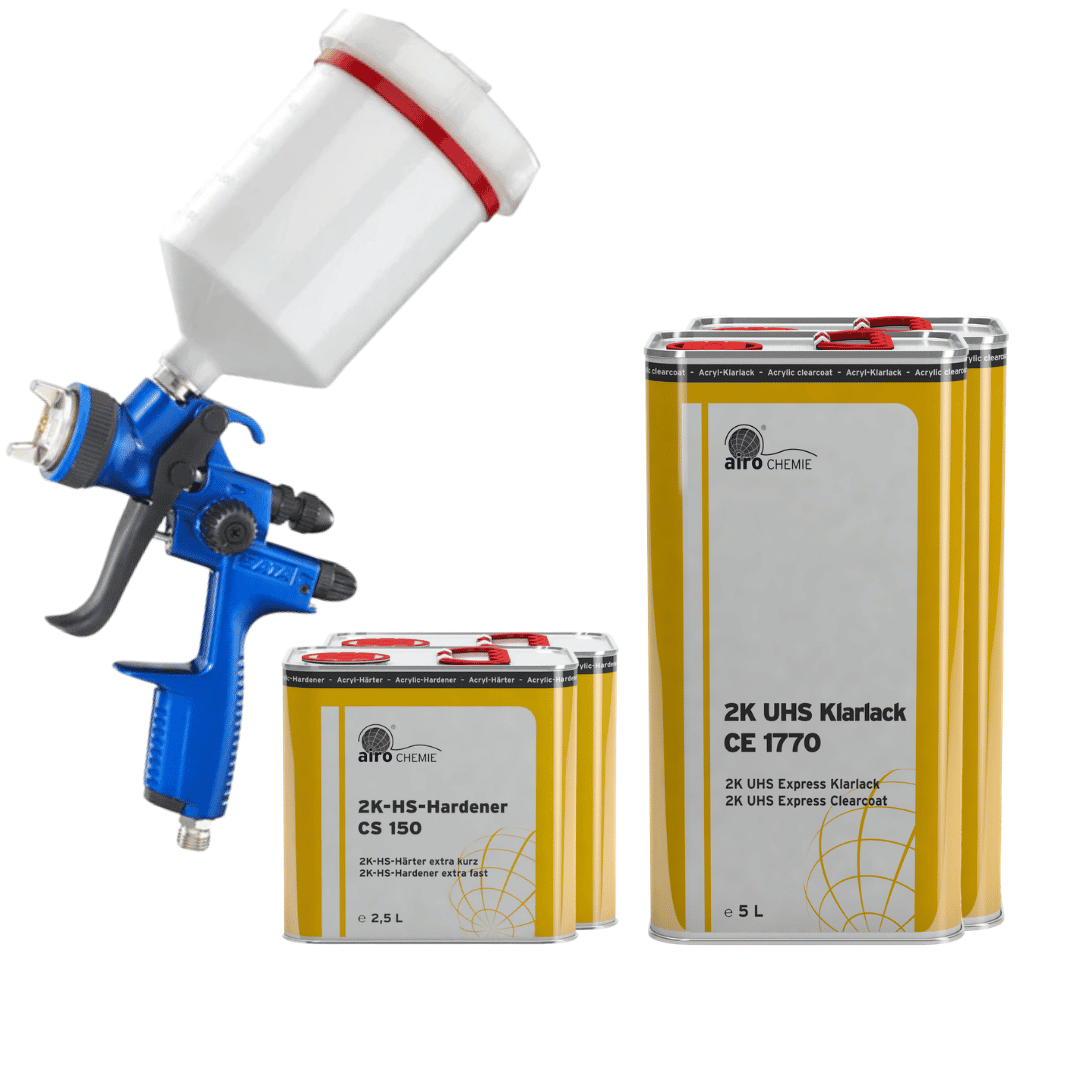
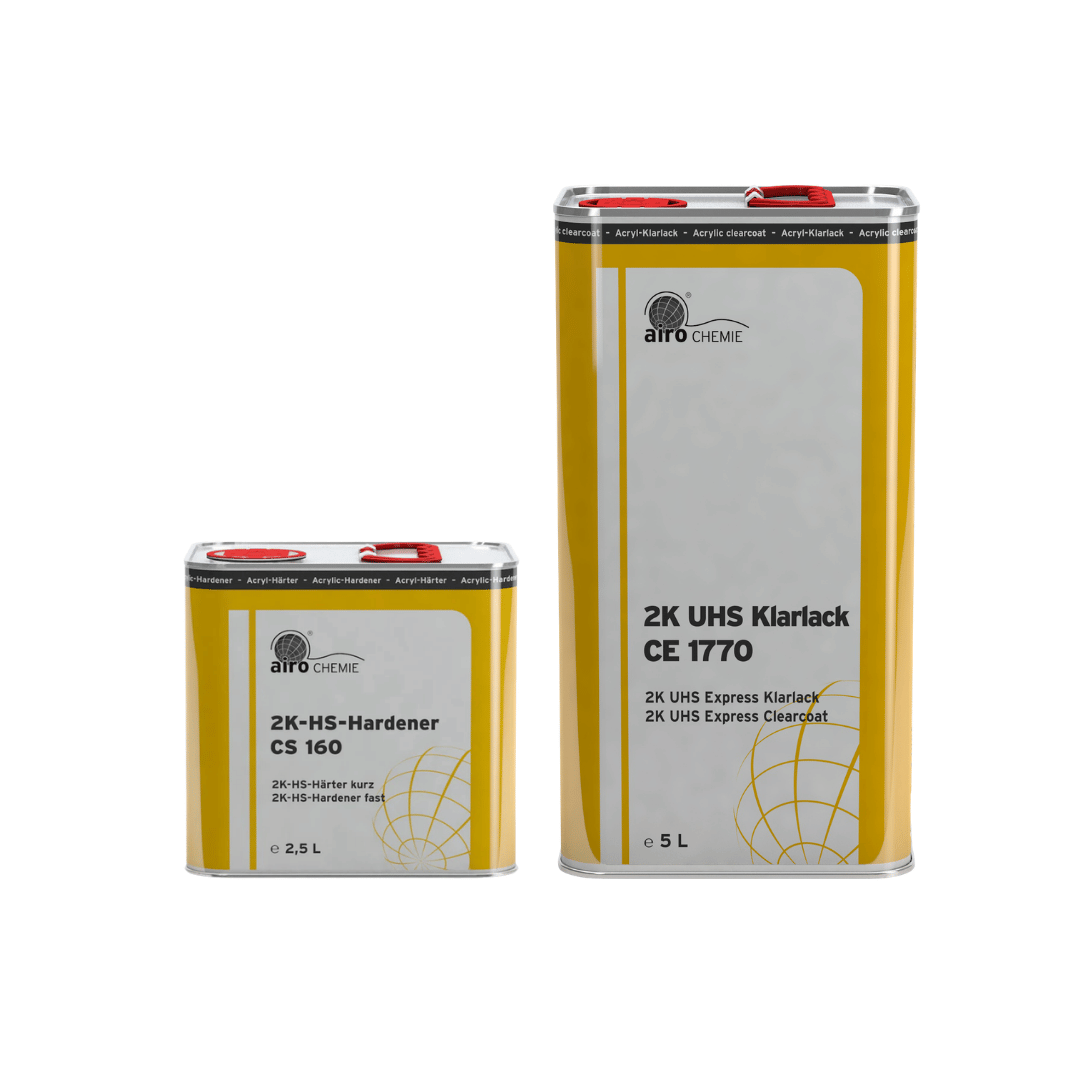
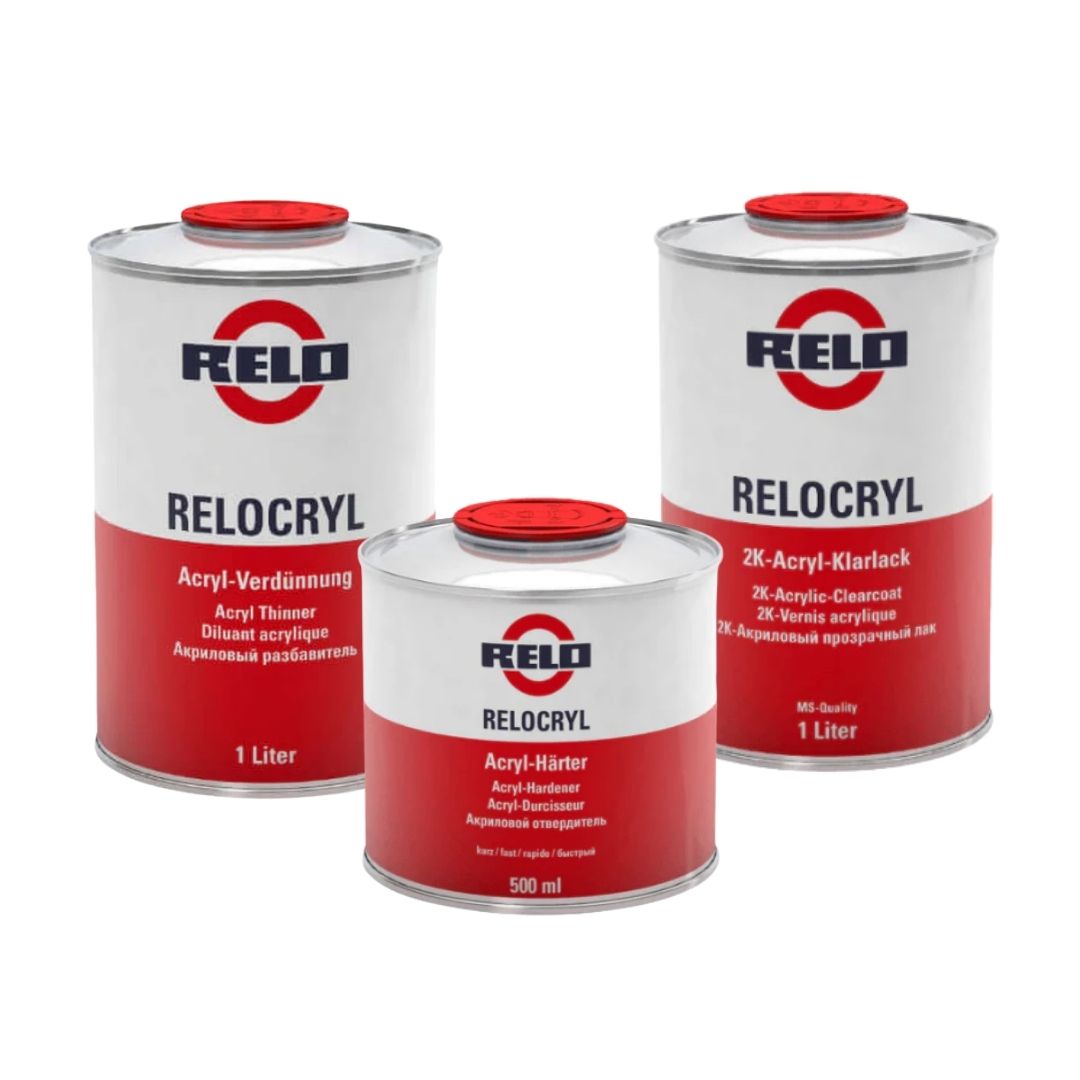
    RELO MS 2K Acrylic Clearcoat Kit (Fast)
    Soudal Soudabond 250 Super Tack C&S Contact Adhesive (500ml) in a spray can with Click and Spray feature.
    Soudal Soudabond Easy 1K Gun PU Adhesive (750ml) packaging showing its use for filling and bonding.
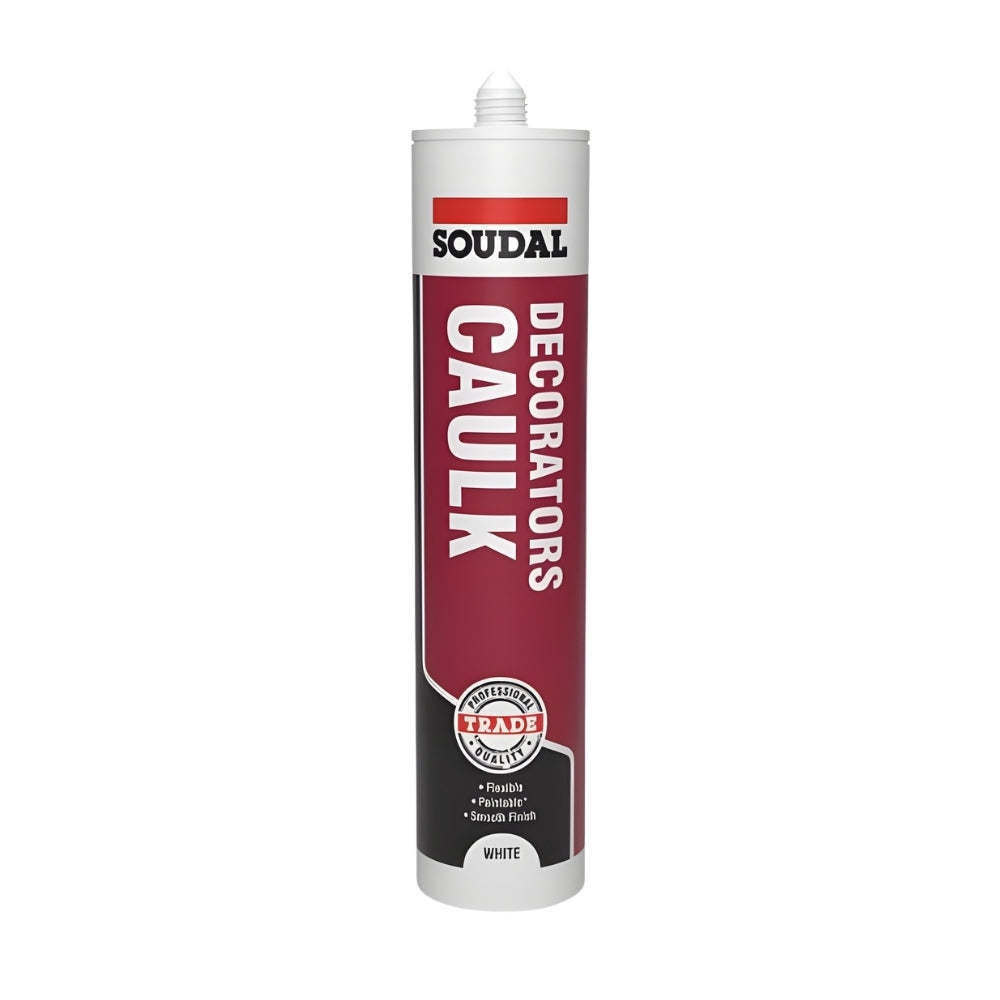
    Soudal Trade Decorators Caulk 290ml Sealant tube for professional decorating projects.
    Soudal Trade Multi-Purpose Silicone Sealant (270ml) tube in grey packaging for waterproof sealing.
    5 colors available
    Soudal Multi Spray 8-in-1 Universal Maintenance Spray can with red cap, showcasing essential maintenance solutions.
    Save 57%Mipa Repair Kit includes various aerosol cans for effective automotive repairs and surface restoration.
    Mipa Paints Limited

    Mipa Repair Kit

    Sale price£49.99 Regular price£115.55
    Mipa Plastic Cleaning Agent bottle, professional degreaser for plastic surfaces.
    Save 43%Mipa Protector Professional Grade Set includes cans and spray gun, showcasing durable polyurethane-acrylic paint system
    2 colors available
    Glass Fibre 0.5M 300 g/m2 - High-quality fibreglass mat packaging, ideal for composite material reinforcement.
    MP Glass Fibre 1 Metre - High-Strength Fibreglass Mat for Repairs and Laminating
    Airo-Chemie Zinkspray Zinc Dust Primer Aerosol 500ml can, designed for superior corrosion protection and fast-drying.
    On saleAiro-Chemie Formel S2000 Acrylic Filler 4:1 1 Litre - Dark Grey canister showcasing high solid content and fast drying properties.
    2 colors available
    Airo-Chemie

    Airo-Chemie Formel S2000 Acrylic Filler 4:1

    Sale priceFrom £16.99 Regular price£27.86

    Paint Surface Preparation and Coatings Frequently Asked Questions

    Why is surface preparation the most important step in painting?

    Professionals agree that surface preparation is the most critical factor in achieving a durable, long-lasting paint finish. Up to 80% of all paint failures, including peeling, chipping, and blistering, are a direct result of inadequate surface preparation.

    Think of it like building a house: the paint is the final decoration, but the surface preparation is the foundation. If the foundation is weak, the house will not last.

    Proper preparation performs three essential functions:

    • It ensures maximum adhesion. Paint needs a clean, stable, and slightly textured surface to grip onto securely. Without this, it will simply sit on top and will easily peel away.
    • It creates a flawless finish. Preparation removes imperfections like grease, dust, cracks, and old, flaky paint. Painting over these flaws will only highlight them and result in a rough, unprofessional look.
    • It guarantees durability. A well-prepared surface allows the paint to form a strong, protective bond, ensuring the finish can withstand wear and tear for years to come. In short, the time you invest in preparation pays for itself many times over in the quality and longevity of your paint job.

    What are the essential steps for surface preparation?

    While the exact steps can vary slightly depending on the surface, the core process for professional-level preparation remains the same. Following these steps in order will ensure a perfect foundation for your paint.

    1. Clean & Degrease: This is the first and most vital step. The surface must be completely free of all dirt, wax, oils, and other contaminants. Use a quality degreaser or panel wipe and a clean cloth to thoroughly wash the entire area.
    2. Repair & Fill: Carefully inspect the surface for any damage. Fill any cracks, holes, or dents with the appropriate filler and sand it smooth once cured.
    3. Sand / Abrade: This step creates a "mechanical key." By lightly sanding the surface with the correct grit abrasive, you create a microscopic texture that the primer or paint can physically grip onto. This dramatically increases adhesion.
    4. Remove All Dust: After sanding, there will be a layer of fine dust that can ruin your finish. First, vacuum the area, then wipe it down with a damp cloth. For a perfectly clean surface, the final step should be to use a tack cloth, which is a sticky cloth designed to pick up every last particle of dust.
    5. Prime or Seal: Apply the appropriate primer or sealer for the surface. This final preparatory coat ensures maximum paint adhesion, blocks stains, and creates a uniform base for your colour.

    What is the difference between a primer and a sealer?

    The terms "primer" and "sealer" are often used interchangeably, but they are technically different products designed to perform different primary functions. Understanding the distinction is key to choosing the right product.

    • Primer: Its main job is ADHESION. A primer is formulated with special binding agents that allow it to stick strongly to a substrate while also creating the perfect surface for your topcoat of paint to adhere to. Think of it as the ultimate "glue" between the surface and the paint. Many primers also contain pigments to help block stains and create a consistent colour base.
    • Sealer: Its main job is to BLOCK or PROTECT. A sealer's primary function is to create an impermeable barrier. When used as a first coat, it stops porous surfaces like new plaster, concrete, or MDF from soaking up your expensive paint like a sponge. When used as a final coat (as a clear coating), it creates a protective shield over a finish to protect it from moisture, scuffs, or UV rays.

    Simple Analogy: A primer is like double-sided tape, bonding two different surfaces together. A sealer is like a waterproof membrane, stopping anything from getting through.

    Recently viewed