Skip to content
  • Cart

    Your cart is empty

    Epoxy Fillers & Putties

    When structural rigidity and moisture resistance are non negotiable, standard pastes are simply insufficient. Finding the right epoxy filler is essential for long lasting repairs, particularly where maximum adhesion and structural strength are required. Our range of epoxy resin filler provides the reinforced stability needed for significant vehicle panel repairs, timber restoration, and metal fabrication. Whether you are addressing severe rust penetration, cracked components, or deep gouges, using a high performance epoxy compound is the most reliable way to create a waterproof, rock hard foundation.

    Sort by

    Epoxy Fillers & Putties Frequently Asked Questions

    What is epoxy filler?

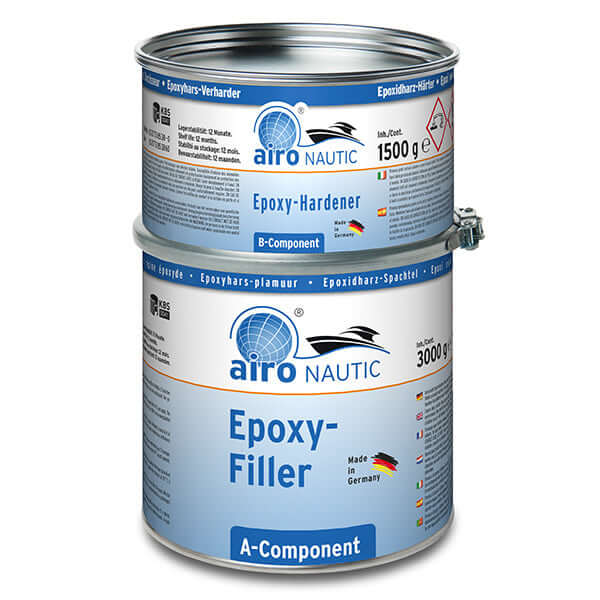
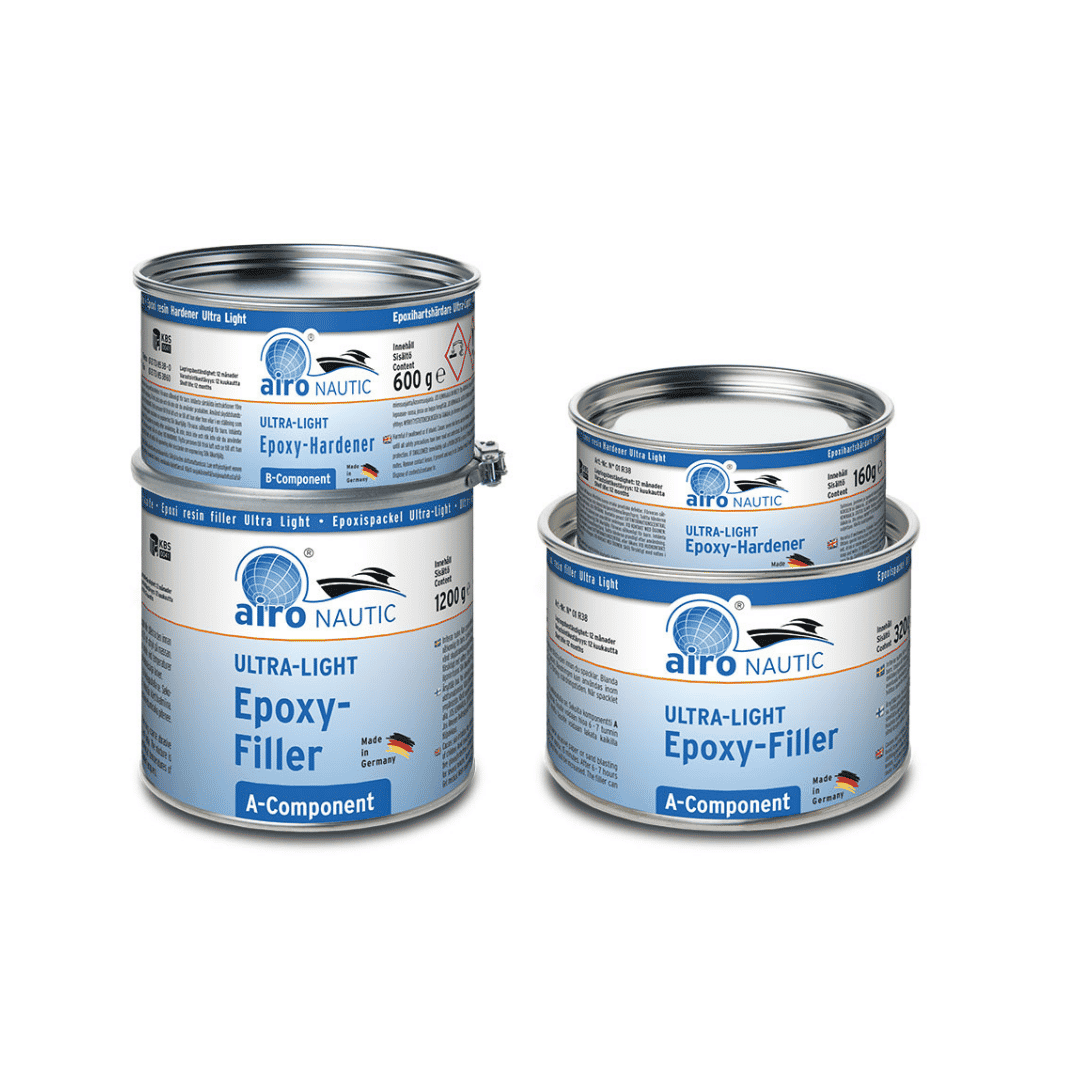
    Epoxy filler is a high-performance, two-part adhesive compound used for structural repairs where incredible strength and durability are required. Unlike standard fillers, it's not just a cosmetic paste; it's a structural adhesive system.

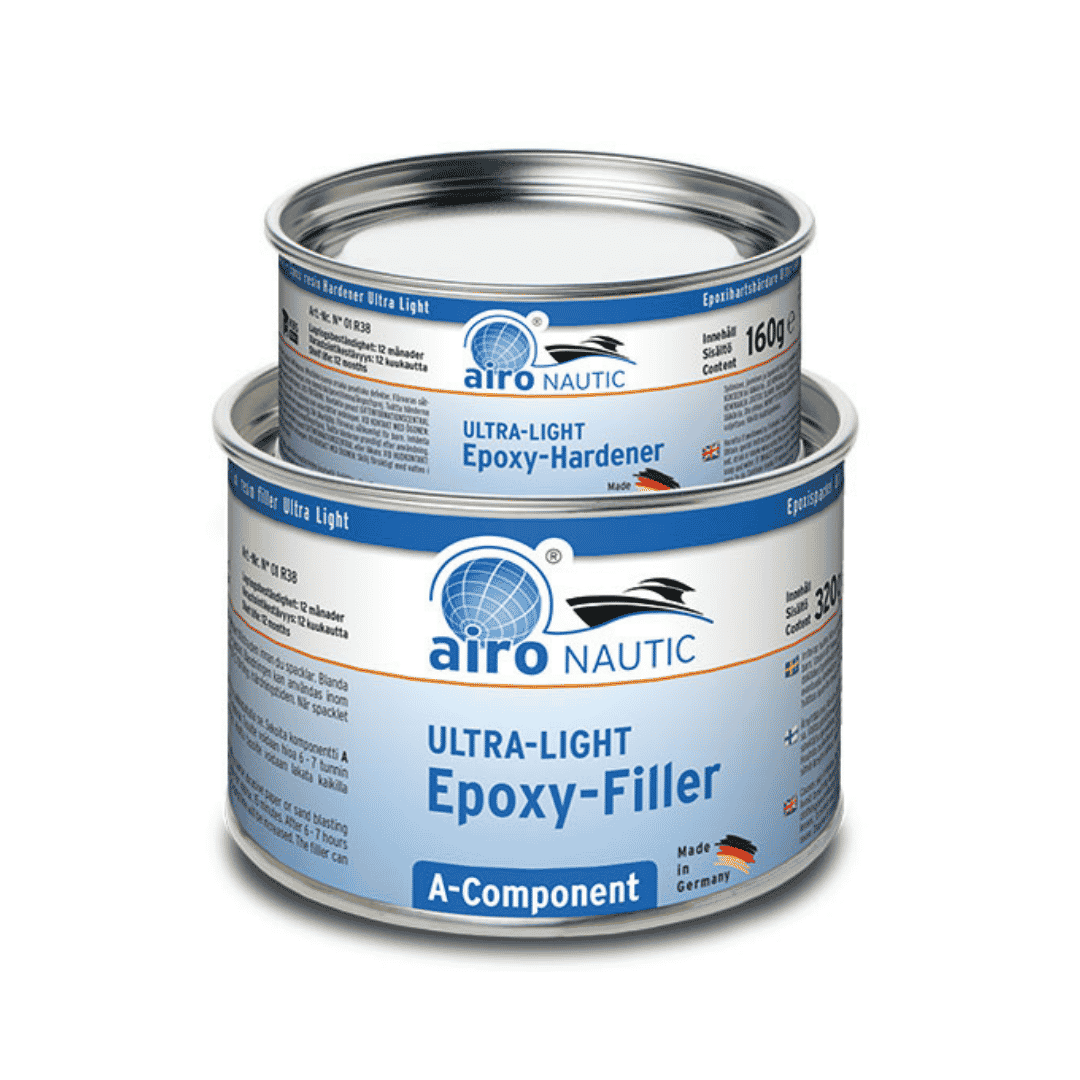
    It consists of two separate components:

    1. Part A: An epoxy resin.
    2. Part B: A co-reactant hardener.

    When these two parts are mixed in their precise ratio, they begin an exothermic chemical reaction that causes them to cure into an exceptionally hard, solid plastic material. This resulting material is waterproof, resistant to chemicals, and has minimal shrinkage. It bonds with phenomenal strength to a wide range of materials, including wood, metal, concrete, and fibreglass, effectively becoming a permanent, structural part of the original substrate.

    How do you use epoxy putty and filler?

    Using epoxy filler correctly is a straightforward process, but it requires careful attention to the preparation and mixing stages to ensure it achieves its maximum strength.

    1. Surface Preparation: The surface must be completely clean, dry, and free of all grease, oil, and loose debris. For best results, sand the repair area with a coarse grit sandpaper (like P80) to create a rough texture, or "key," for the epoxy to grip onto tenaciously.

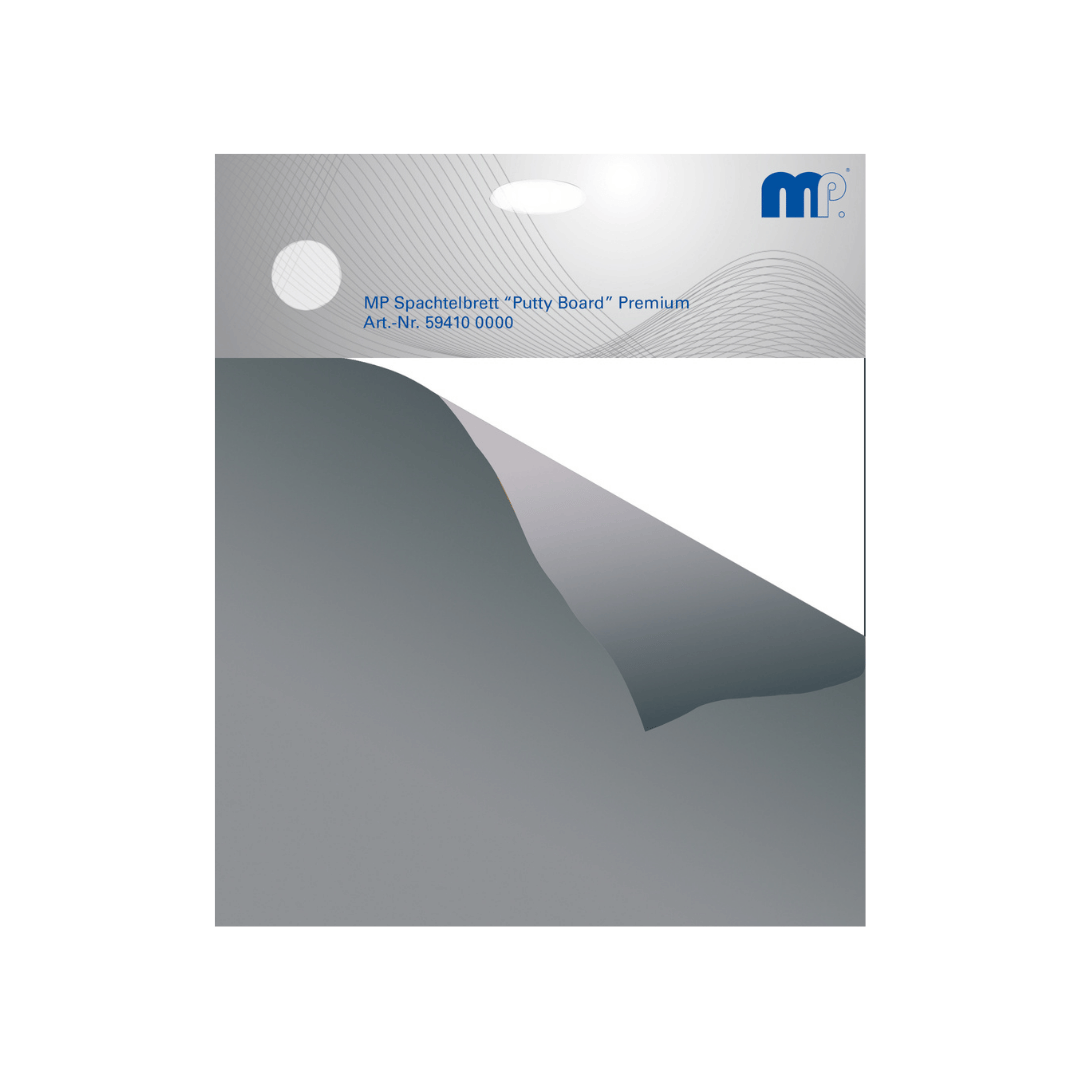
    2. Mixing: This is the most critical step. Using a clean, non-porous mixing board and a putty knife, dispense the resin and hardener according to the exact ratio specified by the manufacturer (often 1:1). Mix the two components thoroughly for 2-3 minutes until you achieve a single, uniform colour with no streaks. Only mix an amount you can use within the product's "pot life" (the working time before it starts to harden).

    3. Application: Apply the mixed filler firmly into the repair area, ensuring you press it into all corners and crevices to avoid air pockets. You can shape the filler as needed while it's still pliable. Leave the filler slightly "proud" (raised) of the surrounding surface.

    4. Curing & Finishing: Allow the filler to cure for the time specified in the instructions. Once fully hardened, it can be treated just like the original material—it is strong enough to be sanded, drilled, tapped, and painted over.

    What is the main difference between an epoxy filler and standard polyester filler?

    The primary difference lies in the chemical composition and the intended use. Polyester filler is designed for cosmetic surface leveling and is easy to sand, but it is porous and less structurally sound. An epoxy filler is a structural resin that provides a waterproof, high strength bond. It is better suited for deep rust repairs, structural reinforcement, and situations where the repair must withstand environmental exposure. While polyester is excellent for the final smoothing stages of a vehicle body project, an epoxy resin filler should be your first choice for the base repair if the integrity of the panel has been lost.

    Recently viewed