Filters
Filter By
MP
Sale priceFrom £16.99 GBP
Regular price£27.26 GBP
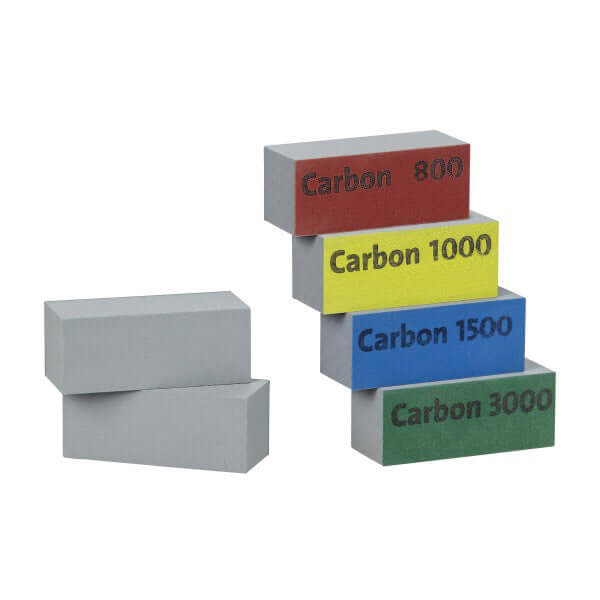
MP Fine Grinding Block
MP
Sale priceFrom £12.49 GBP
Regular price£23.48 GBP
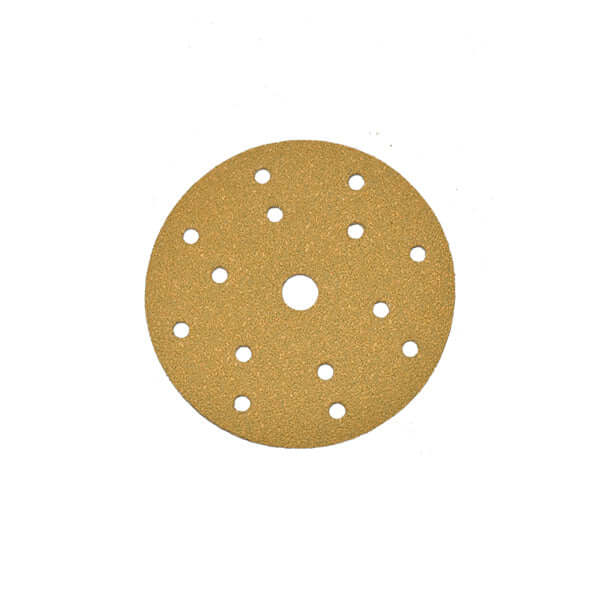
MP GoldPlus Discs 150mm 15 Hole Hook and Fastener
Gerko Products
Sale price£30.99 GBP
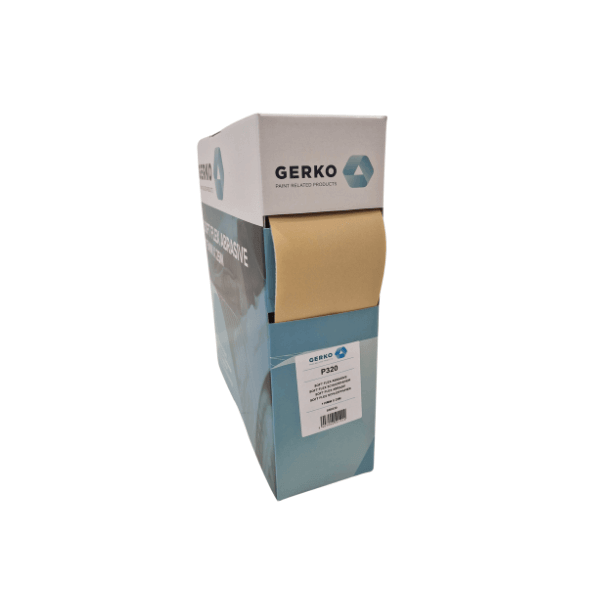
Gerko Soft Flex 115mm X 25m P320
MP
Sale price£14.99 GBP
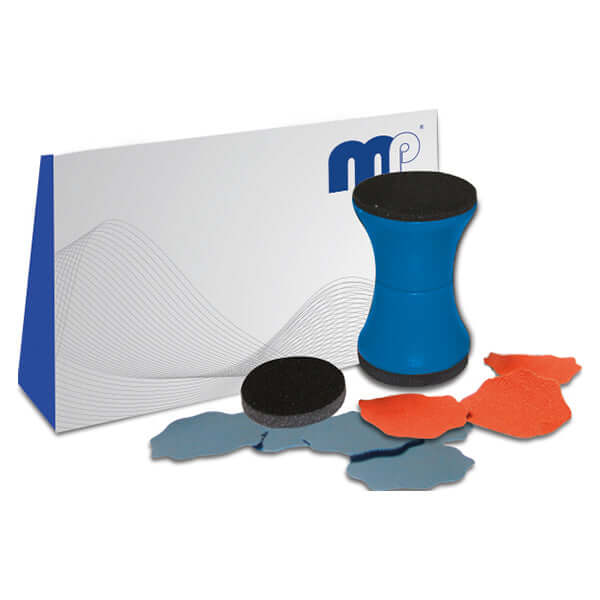
MP De-nibbing Mini Sanding Discs Kit
MP
Sale price£22.99 GBP
Regular price£27.50 GBP
MP Wet & Dry Abrasive Paper 230 x 280mm P2500

MP
Sale price£22.99 GBP
Regular price£38.05 GBP
MP FoamFlex P320 (25m)
MP
Sale price£14.99 GBP
Regular price£21.82 GBP
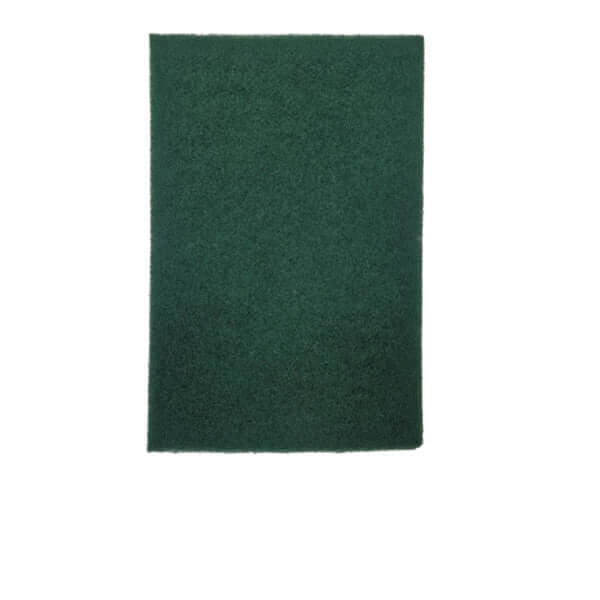
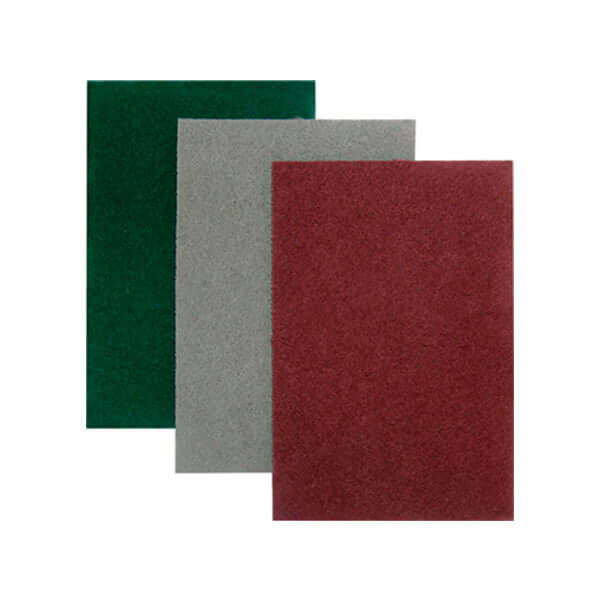
MP Abrasive Fleece Pad Fine 152 x 229 mm (Green) - Pack of 20
MP
Sale price£5.99 GBP
Regular price£7.06 GBP
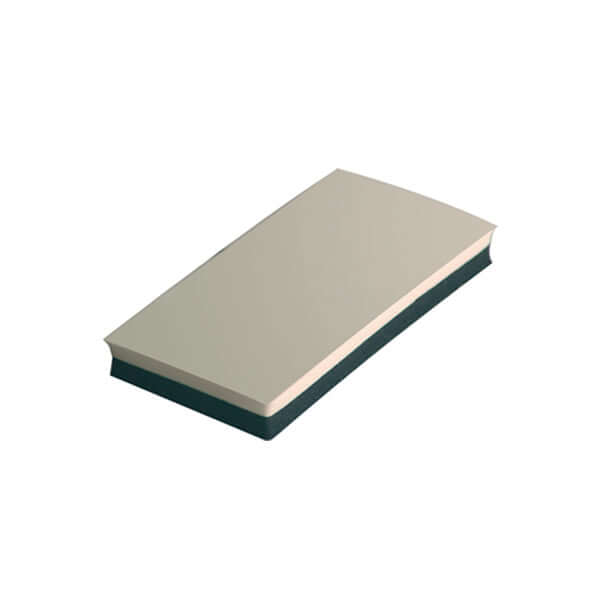
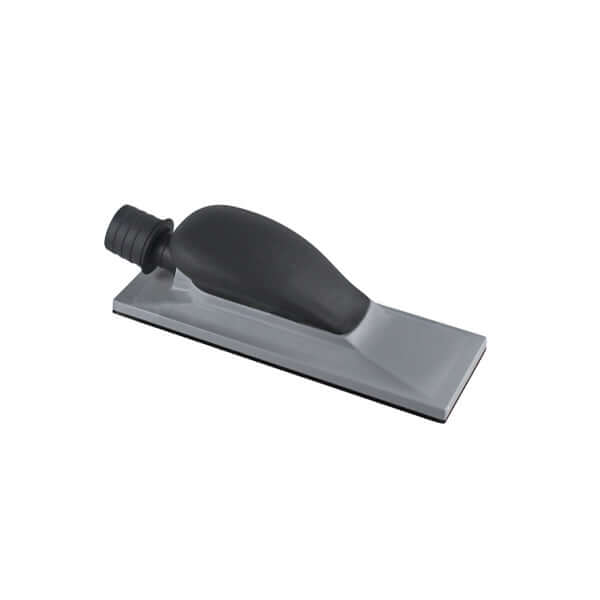
MP Handblock Soft
MP
Sale price£3.99 GBP
Regular price£7.76 GBP
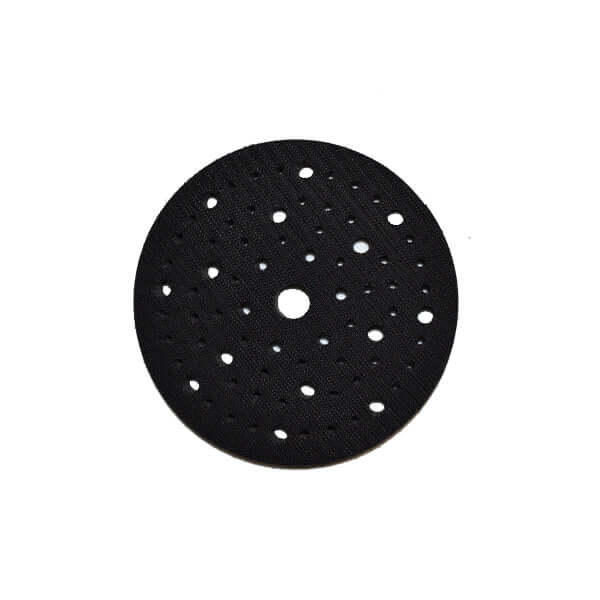
MP Interface Sanding Pad 150mm 75 Hole
MP
Sale price£7.99 GBP
Regular price£9.27 GBP
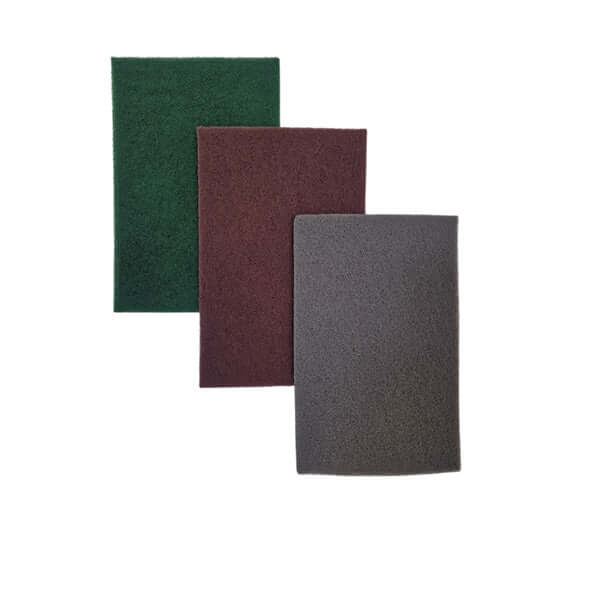
MP Non-Woven Abrasive Pad (115 x 280mm) Very Fine (Pack of 10)

MP
Sale price£16.99 GBP
Regular price£19.00 GBP
MP Non-Woven Abrasive Roll 10M 100 mm x 10 m Very Fine (Red)

MP
Sale price£19.99 GBP
Regular price£32.41 GBP
MP Non-Woven Abrasive Roll (115mm x 10m) Ultra Fine (10m)
MP
Sale price£14.99 GBP
Regular price£21.00 GBP
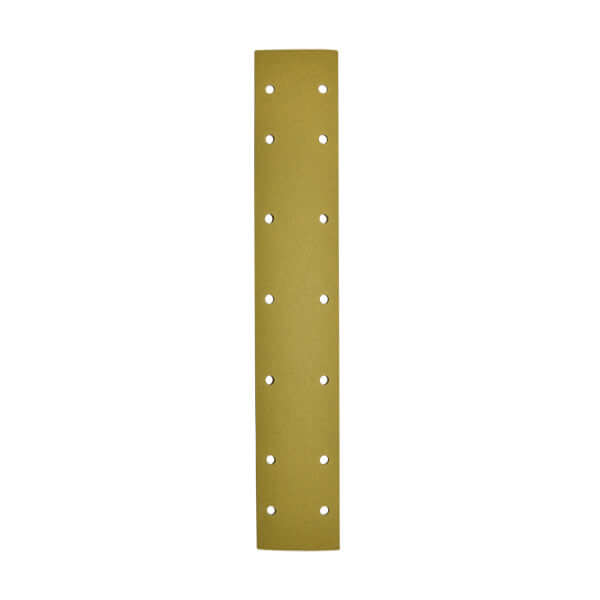
MP 14 Hole Strips 60g Velcro (70 x 420mm) (Pack of 50)
MP
Sale price£11.99 GBP
Regular price£31.34 GBP
MP Antidust 8 Hole Velcro Sanding Block (70 x 198mm)
MP
Sale price£22.99 GBP
Regular price£37.04 GBP
MP FoamFlex P240 Roll (25m)
MP
Sale price£11.99 GBP
Regular price£14.00 GBP