The final details are what separate a good job from a professional one, and creating a clean, weatherproof seal is one of the most crucial finishing touches. A high-quality sealant is essential for protecting joints from moisture, air, and dirt, ensuring a durable and aesthetically pleasing result. At Nebula Paints, we are a UK distributor of professional-grade supplies, offering a comprehensive range of sealants, including premium silicone sealant, for every application.
The final details are what separate a good job from a professional one, and creating a clean, weatherproof seal is one of the most crucial finishing touches. A high-quality sealant is essential for protecting joints from moisture, air, and dirt, ensuring a durable and aesthetically pleasing result. At Nebula Paints, we are a UK distributor of professional-grade supplies, offering a comprehensive range of sealants, including premium silicone sealant, for every application.
The Professional’s Choice for a Perfect Seal
Whether you're a decorator finishing gaps around skirting, a classic car restorer sealing weld seams, or a builder weatherproofing window frames, the right sealant provides a flexible, long-lasting barrier that completes the job perfectly.
Why a High-Quality Sealant is Essential
A bead of sealant does more than just fill a gap; it performs several critical functions that protect your work and enhance its longevity.
-
Creates a Weatherproof Barrier:
It provides the first line of defence against the elements, preventing wind, rain, and drafts from penetrating gaps in window and door frames.
-
Prevents Water Damage:
In kitchens and bathrooms, a waterproof silicone sealant is non-negotiable. It creates a watertight seal around baths, showers, sinks, and worktops, preventing water ingress that can lead to rot, mould, and costly structural damage.
-
Provides a Flawless Finish:
A neat, clean bead of sealant covers unsightly gaps and cracks, giving your project a tidy, professional, and finished appearance.
-
Allows for Natural Movement:
Buildings and materials naturally expand and contract. A flexible sealant is designed to accommodate this movement without cracking or losing its bond, ensuring the integrity of the seal is maintained for years.
A Specialist Sealant for Every Application
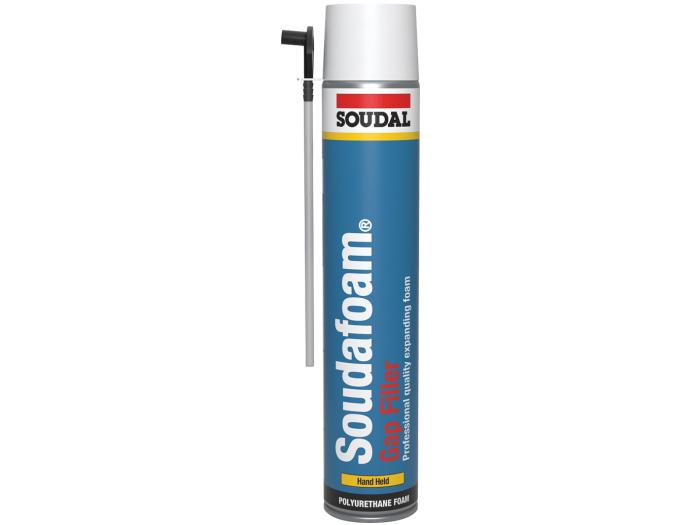
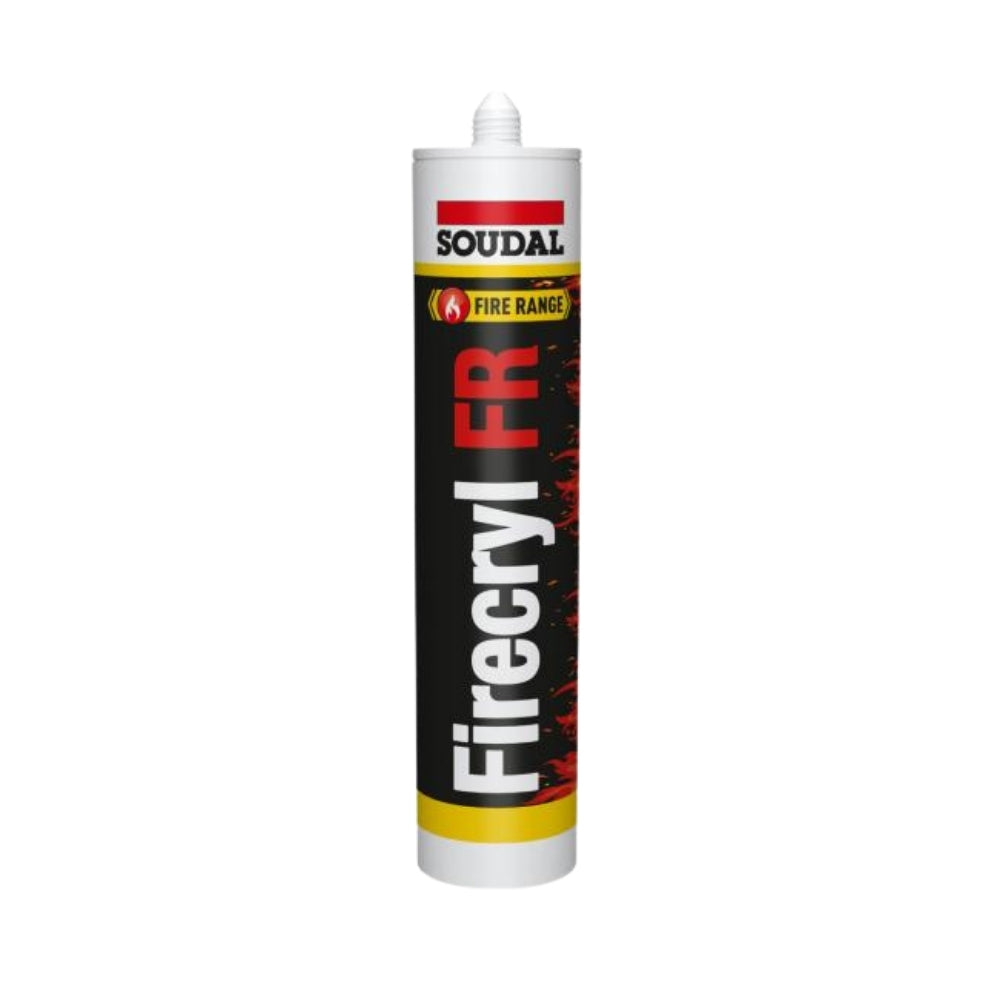
From professional vehicle restoration to critical home repairs, different tasks demand specialist sealants. We stock a comprehensive range to provide the perfect balance of flexibility, strength, and adhesion for your project.
-
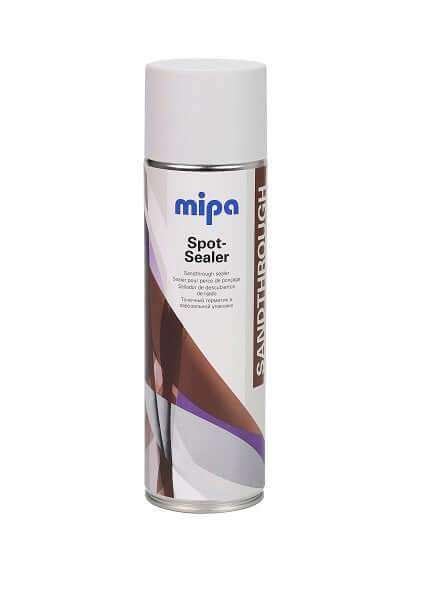
In professional body shops and classic car restoration, replicating the factory seam seal is crucial for both aesthetics and corrosion protection. We supply high-performance brushable and sprayable seam sealers that provide a tough, flexible, and fully paintable seal for weld seams, floor pans, and strut towers.
-
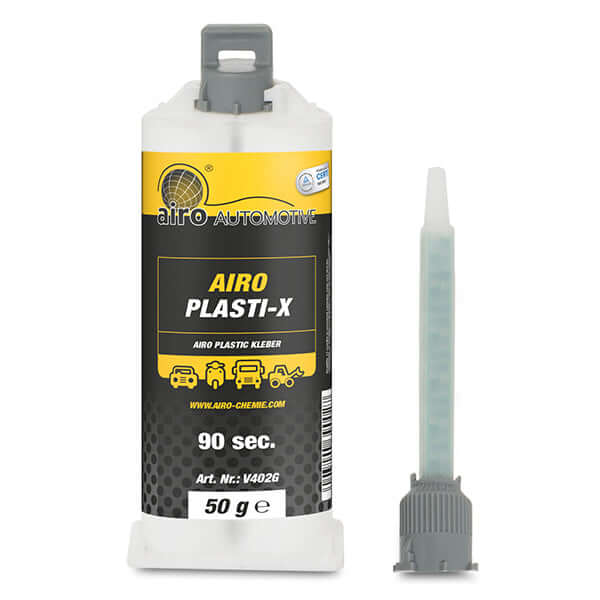
Panel Bonding and Structural Adhesion:
For applications demanding incredible strength, modern polyurethane (PU) Adhesive sealants are the ultimate solution. These products are used to bond vehicle panels, body kits, and spoilers, creating a structural bond that can often be stronger than welding, while also providing a flexible, waterproof seal.
-
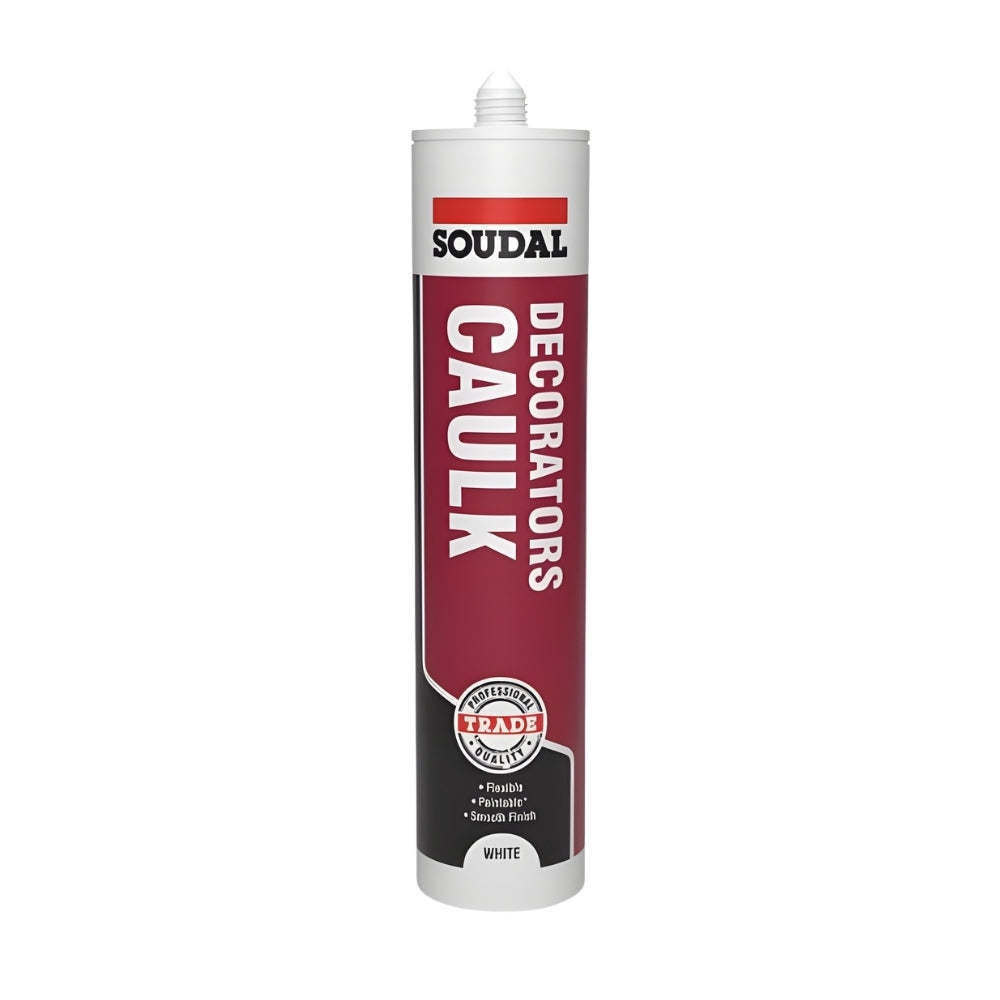
General Purpose & Waterproofing:
A high-quality silicone sealant is an essential tool for a huge range of tasks. It's the perfect choice for creating a long-lasting, waterproof seal around windows, in kitchens and bathrooms, or for use on caravans and boats. Its excellent flexibility and UV resistance ensure a durable seal that won't crack or shrink.
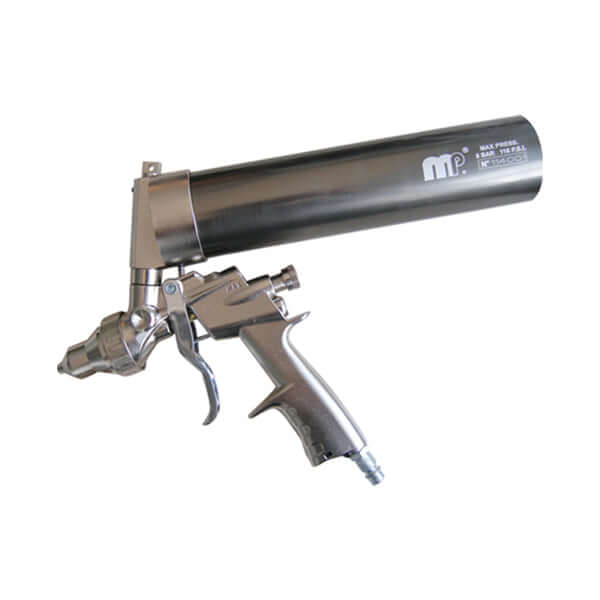
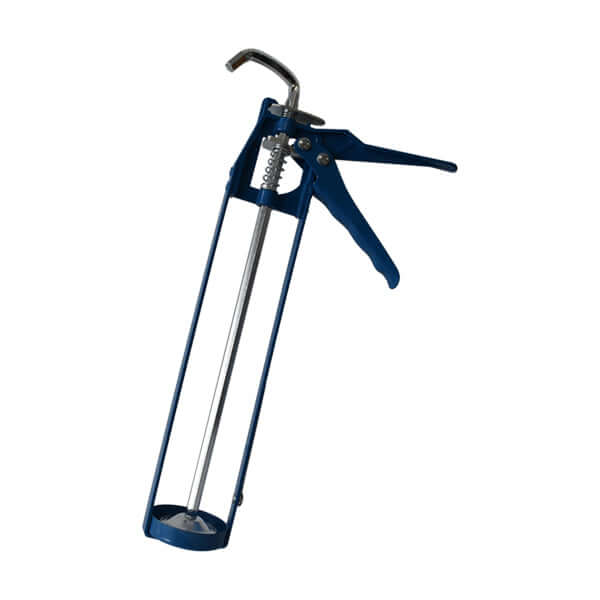
For a clean, professional application, always use a good quality sealant gun for smooth, even pressure. This ensures the gap is filled correctly and makes tooling the bead for a perfect finish much easier.
Browse our complete collection of sealant products today and find the ideal solution to protect and perfect your next project.