Skip to content
  • Cart

    Your cart is empty

    Sort by

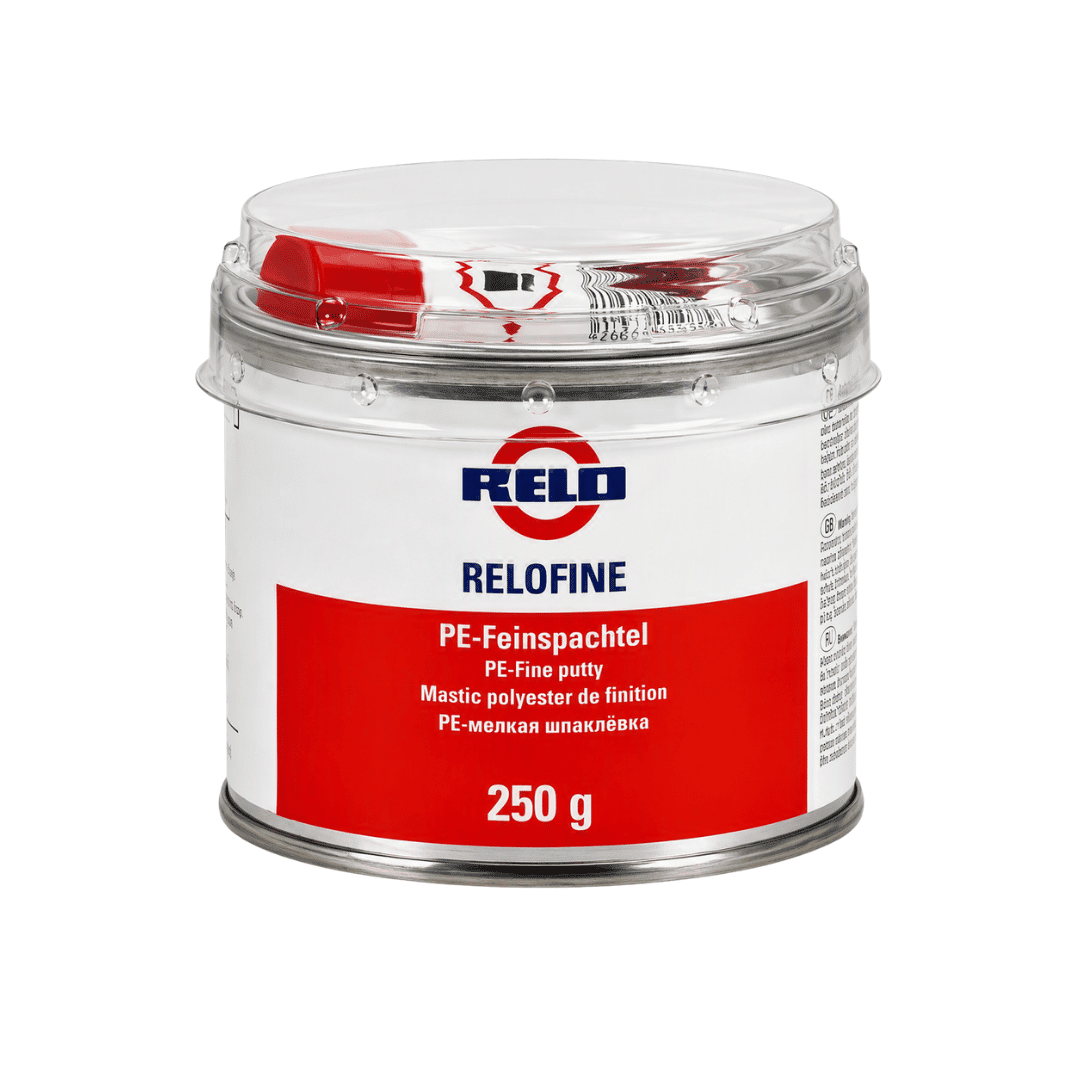
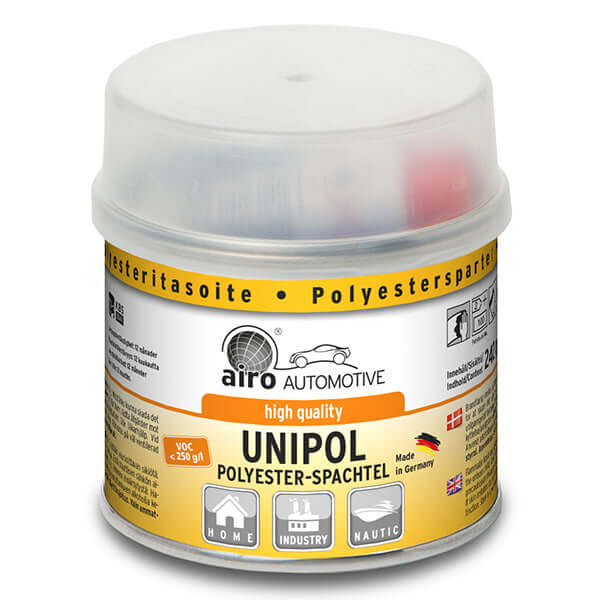
    Save £2.55Airo-Chemie Unipol Beige Polyester Filler 250g + Spatula in a clear container.

    Fillers Frequently Asked Questions

    What is filler and what is it used for?

    Filler is a paste-like material used to repair imperfections such as cracks, holes, dents, and chips in a variety of surfaces like wood, plaster, metal, and masonry. Its primary purpose is to restore the surface to a smooth, level, and structurally sound state before it is painted or finished.

    Fillers come in two main types:

    • Ready-Mixed (One-Part): These fillers come pre-mixed in a tub and harden as the water or solvent within them evaporates. They are incredibly convenient and perfect for general-purpose repairs like filling small cracks in walls or nail holes in wood.
    • Two-Part (Chemical Cure): These fillers consist of a main paste and a separate hardener. When mixed, they cure via a chemical reaction, making them exceptionally strong, durable, and often sandable much sooner. They are ideal for larger, deeper repairs or for surfaces that require maximum durability, like exterior wood or vehicle panels.

    How do I choose the right filler for my project?

    Choosing the correct filler is essential for a successful, long-lasting repair. To find the right product, you need to consider three key factors: the material, the location, and the size of the repair.

    1. The Material You Are Repairing: You must match the filler to the surface. Use wood filler for timber, as it's designed to flex with the wood. Use multi-purpose or interior fillers for plaster and drywall. For metal, a dedicated polyester or epoxy filler is required.
    2. The Location (Interior vs. Exterior): If the repair is outdoors, you must use an exterior-grade filler. These are formulated to be weather-resistant and can withstand changes in temperature and moisture without cracking or failing. Interior fillers are not designed for these conditions and will quickly break down.
    3. The Size and Depth of the Repair: For small cracks and pinholes, a lightweight, ready-mixed filler is perfect. For deeper holes or significant damage, a deep-fill or a two-part filler is the better choice. These provide greater structural strength and can be built up in thicker layers without shrinking or cracking.

    What is the correct way to apply and sand filler?

    Achieving a perfectly smooth, invisible repair comes down to a consistent technique for both application and sanding, regardless of the filler type.

    Application:

    • Preparation: The surface must be clean, dry, and free from any loose debris. Sand the area lightly to create a "key" for the filler to grip onto.
    • Application: Using a clean putty knife or spreader, press the filler firmly into the hole or crack. This ensures there are no air pockets.
    • Leave it Proud: Apply enough filler so that it sits slightly "proud," or raised, above the surrounding surface. This is crucial because it gives you material to sand back down, ensuring a perfectly flush finish.

    Sanding:

    • Wait for it to Cure: Only begin sanding once the filler is fully hard (check the manufacturer's instructions for drying times).
    • Use a Sanding Block: Always wrap your sandpaper around a sanding block. This keeps the surface perfectly flat and prevents you from accidentally creating a dip or "hollow" in the repair.
    • Start Coarse, Finish Fine: Begin with a medium-grit sandpaper to remove the bulk of the excess filler and level the surface. Once it's flush, switch to a finer grit to remove the scratches from the first paper, leaving a seamless, ultra-smooth finish ready for primer.

    Recently viewed