Skip to content
  • Cart

    Your cart is empty

    Wood Finishes and Coatings

    Sort by

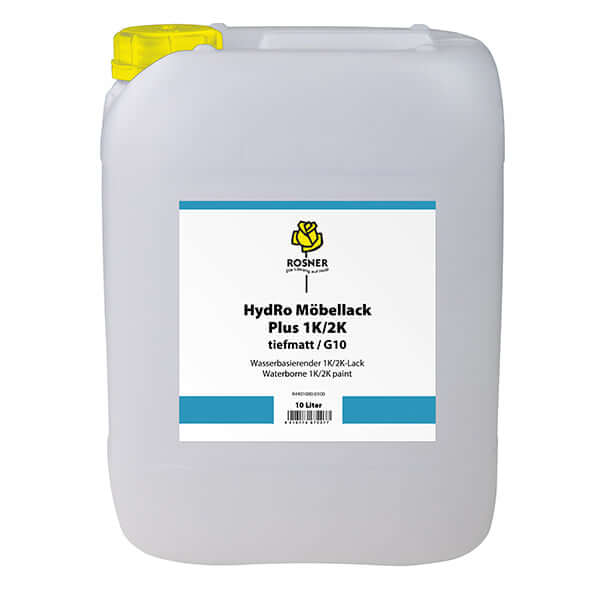
    Rosner HydRo Varnish Deep Matt G10 - 10Ltr, premium waterborne wood finish in 10L container.
    Rosner Pro Mix Colour Reader device and packaging on display for professional colour measurement
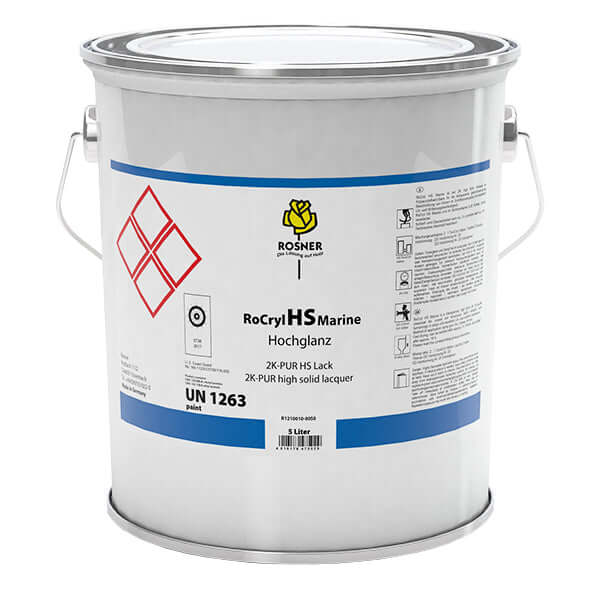
    Rosner Rocryl HS Clearcoat 5 Ltr - 2K High-Solid polyurethane clearcoat for wood and surface finishing.
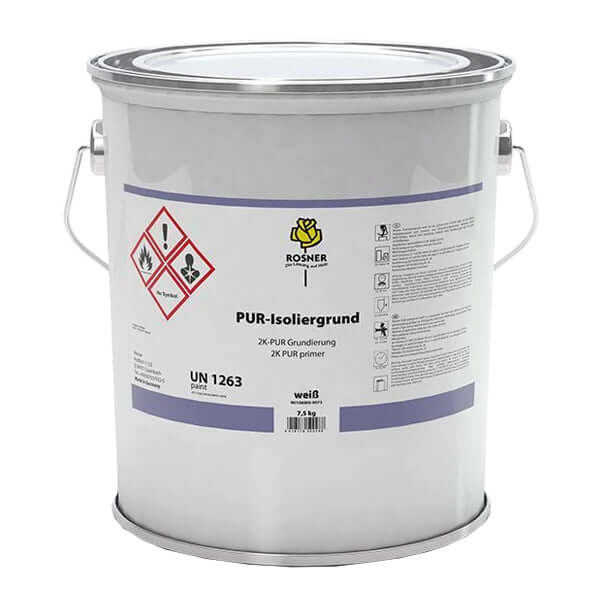
    Rosner PUR Insulating Ground White 7.5 KG canister for wood finishing with safety labels and instructions.
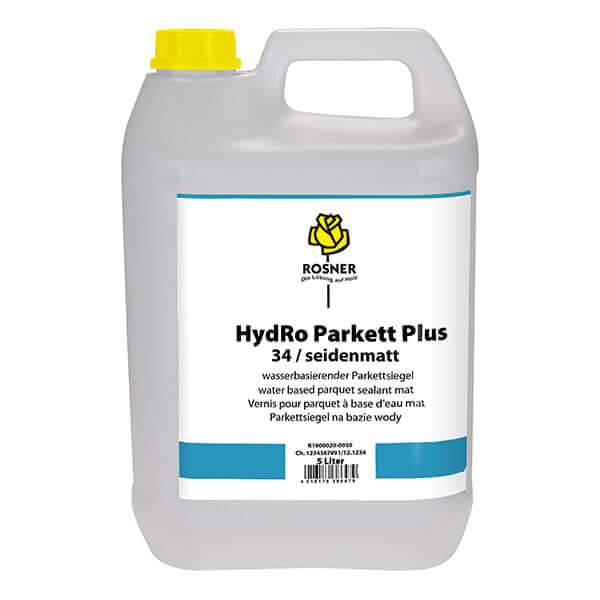
    Rosner HydRo Parkett Plus Satin/Matt 5 Ltr - Water-Based Parquet Varnish for High-Traffic Wood Floors
    Rosner Natural Expert Hard Wax Monoprotect 1ltr can for eco-friendly wood finishing.
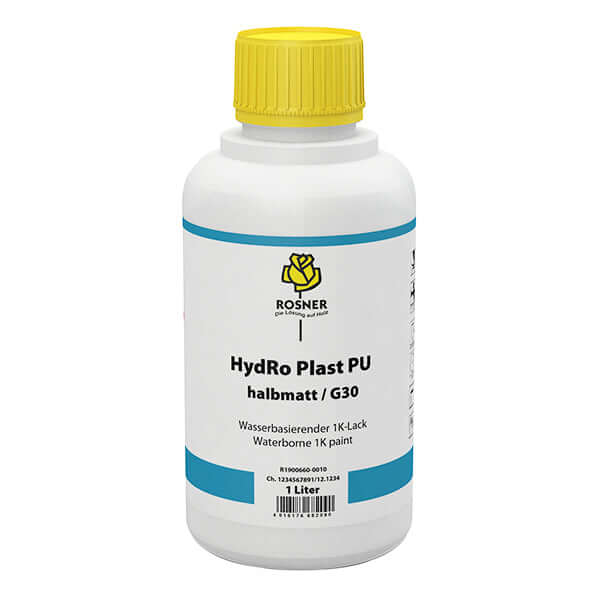
    Rosner Hydro Plast PU 1 Ltr packaging, water-based wood coating for professional finishing.
    Rosner RoCryl HS Colour High Gloss 5KG tin of high-solid 2K PUR paint with excellent UV protection and filling power.
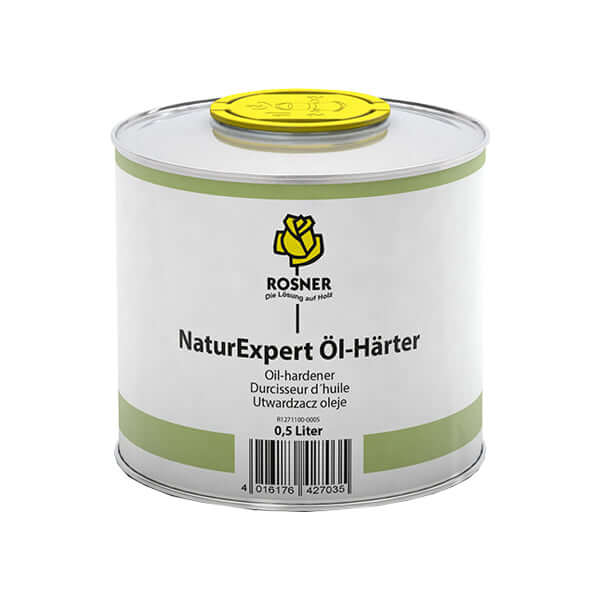
    Save 12%Rosner NaturExpert Oil Hardener 0.5Ltr - Oil hardener for enhanced durability and drying of wood oils.
    Rosner

    Rosner NaturExpert Oil Hardener (0.5L)

    Sale price£9.99 Regular price£11.41
    Save 19%Rosner DD-Evaporation Nr. 20 1Ltr. Thinner for solvent-based coatings in a canister.
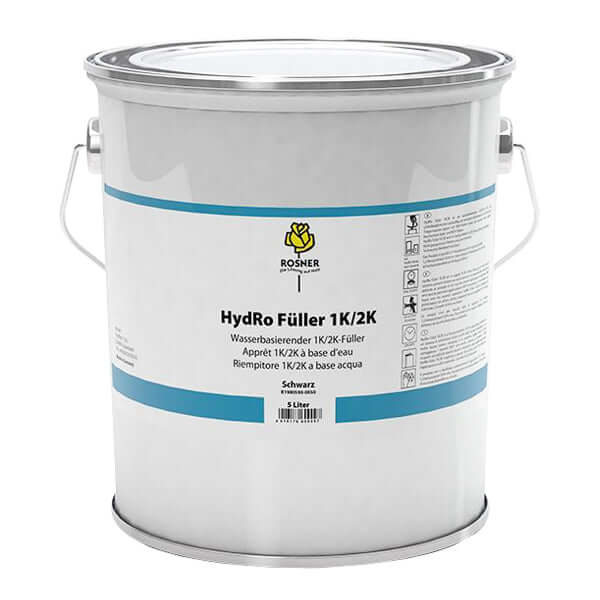
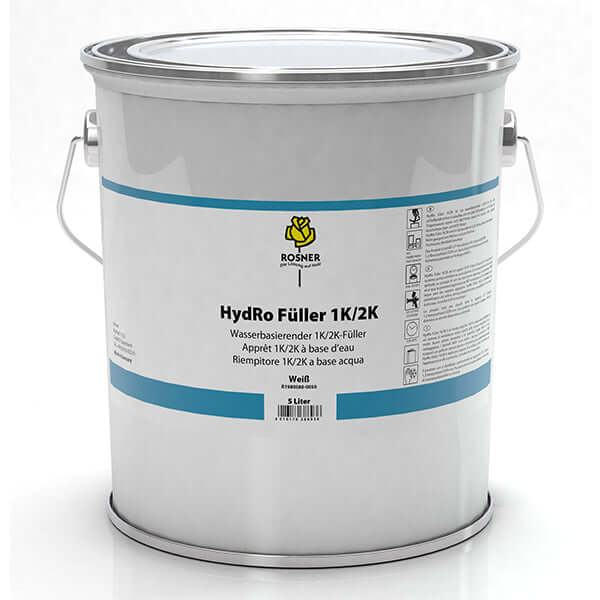
    Rosner HydRo Primer Filler 1K/2K (5L) in a round canister, water-based, low-pollutant MDF primer.
    2 colors available
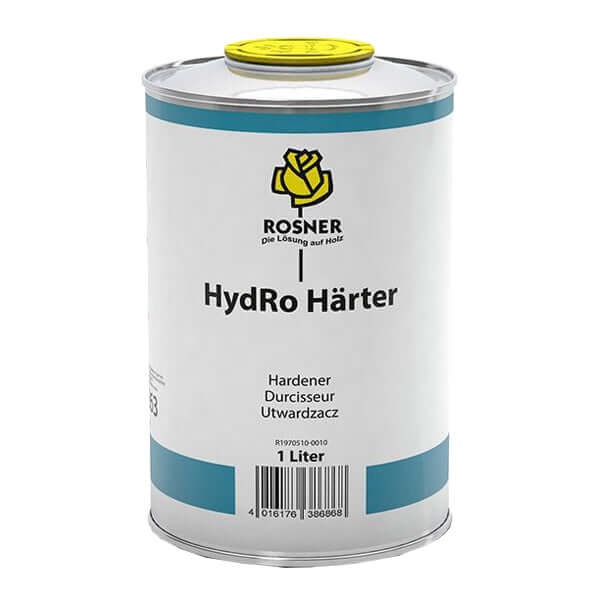
    Rosner HydRo Hardener 1Ltr - high-performance crosslinking additive for water-based coatings
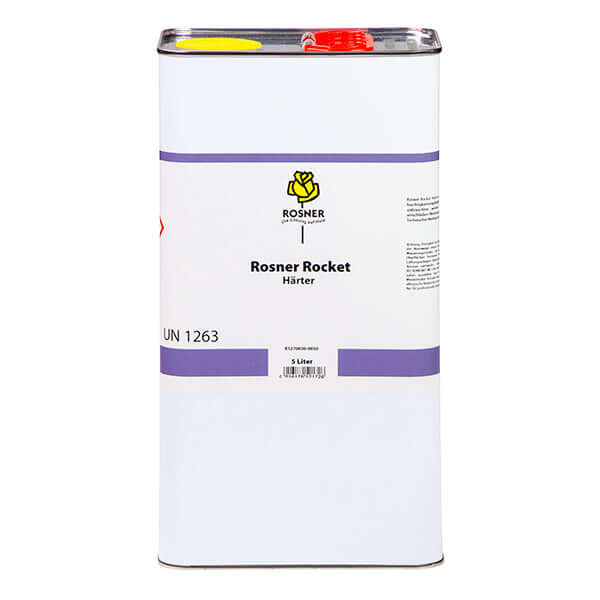
    Rosner Rocket Hardener 5L canister for high-performance clearcoat systems.
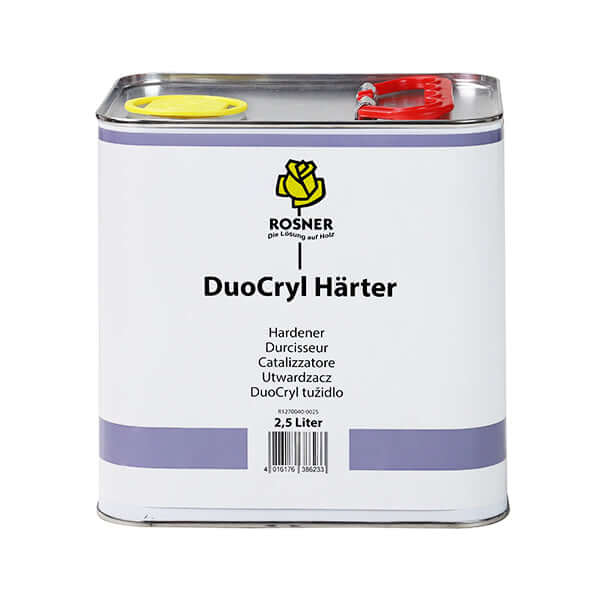
    Rosner DuoCryl Hardener 2.5L can image for high-performance wood finishing systems.
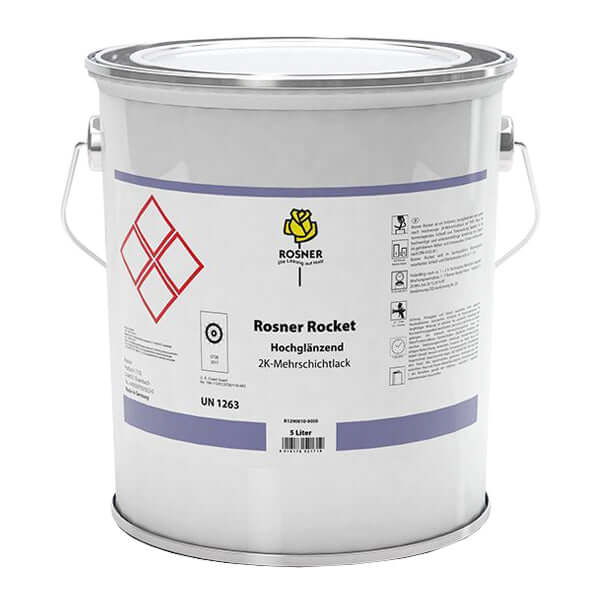
    Rosner Rocket Clearcoat 5L - 2K polyurethane clearcoat for professional multi-layer applications.
    Rosner RoCryl Colour Ringfest 5KG canister of high-quality lacquer with safety information.

    Wood Finishes and Coatings Frequently Asked Questions

    How do you finish wood?

    Finishing wood is the process of protecting it from damage and enhancing its natural beauty. A proper finish not only looks great but also provides a durable barrier against moisture, scratches, and everyday wear.

    The process involves several key stages:

    1. Sanding: This is the most critical preparation step. Start with a medium-grit sandpaper to level the surface and remove any machine marks. Progress to a finer grit to create a perfectly smooth surface. Always sand in the direction of the wood grain.
    2. Cleaning: After sanding, remove every trace of dust. Use a vacuum followed by a wipe with a tack cloth for the best results.
    3. Staining (Optional): If you want to change the colour of the wood, apply a wood stain at this stage. Allow it to penetrate and then wipe off the excess.
    4. Sealing / Priming: Apply a sanding sealer or a primer. This seals the pores of the wood, prevents the final coats from soaking in unevenly, and creates a uniform base.
    5. Applying the Topcoat: This is your protective layer. Whether you choose a varnish, lacquer, or paint, apply it in thin, even coats. Lightly sand with a very fine grit sandpaper between each coat (after it has dried) to remove any imperfections, ensuring a flawlessly smooth final finish.

    Can you paint over a finished wood surface?

    Yes, you can absolutely paint over wood that has an existing finish, like varnish or lacquer. In fact, it's one of the most common DIY projects. However, you cannot simply paint directly onto the glossy, sealed surface.

    For the new paint to adhere properly and not peel off, you must prepare the surface correctly first.

    The essential steps are:

    • Clean Thoroughly: First, the surface must be cleaned with a good degreaser to remove all traces of wax, furniture polish, oil, and grime that have built up over the years.
    • De-gloss the Surface: The key to adhesion is removing the slick, glossy nature of the old finish. Use a medium-grit sandpaper to scuff the entire surface. Your goal is not to remove the old finish completely, but to dull it down and create a fine texture, or "key," for the new primer to grip onto.
    • Prime: After sanding and cleaning away the dust, apply a high-quality adhesion primer. A good primer will bond strongly to the old finish and provide the perfect foundation for your new paint, ensuring it won't chip or peel.

    How do you repair a damaged wood finish?

    The method for repairing a damaged wood finish depends entirely on the severity of the damage.


    For light scratches and scuffs where the damage is only in the top clear coat, you can use touch-up markers or a matching paste wax. For more widespread light scratching, you can often lightly sand the entire surface with a fine-grit paper and apply a fresh coat of the same clear finish to restore it.


    For deeper gouges and chips that go through the finish and into the wood itself, you will need to fill the area. You can use wax filler sticks for areas that won't see a lot of wear. For a permanent, hard repair, clean out the damaged area and fill it with a wood filler. Overfill the repair slightly, allow it to dry completely, and then sand it perfectly flush with the surrounding wood before applying a new topcoat.

    Recently viewed