Skip to content
  • Cart

    Your cart is empty

    Spray Guns

    Sort by

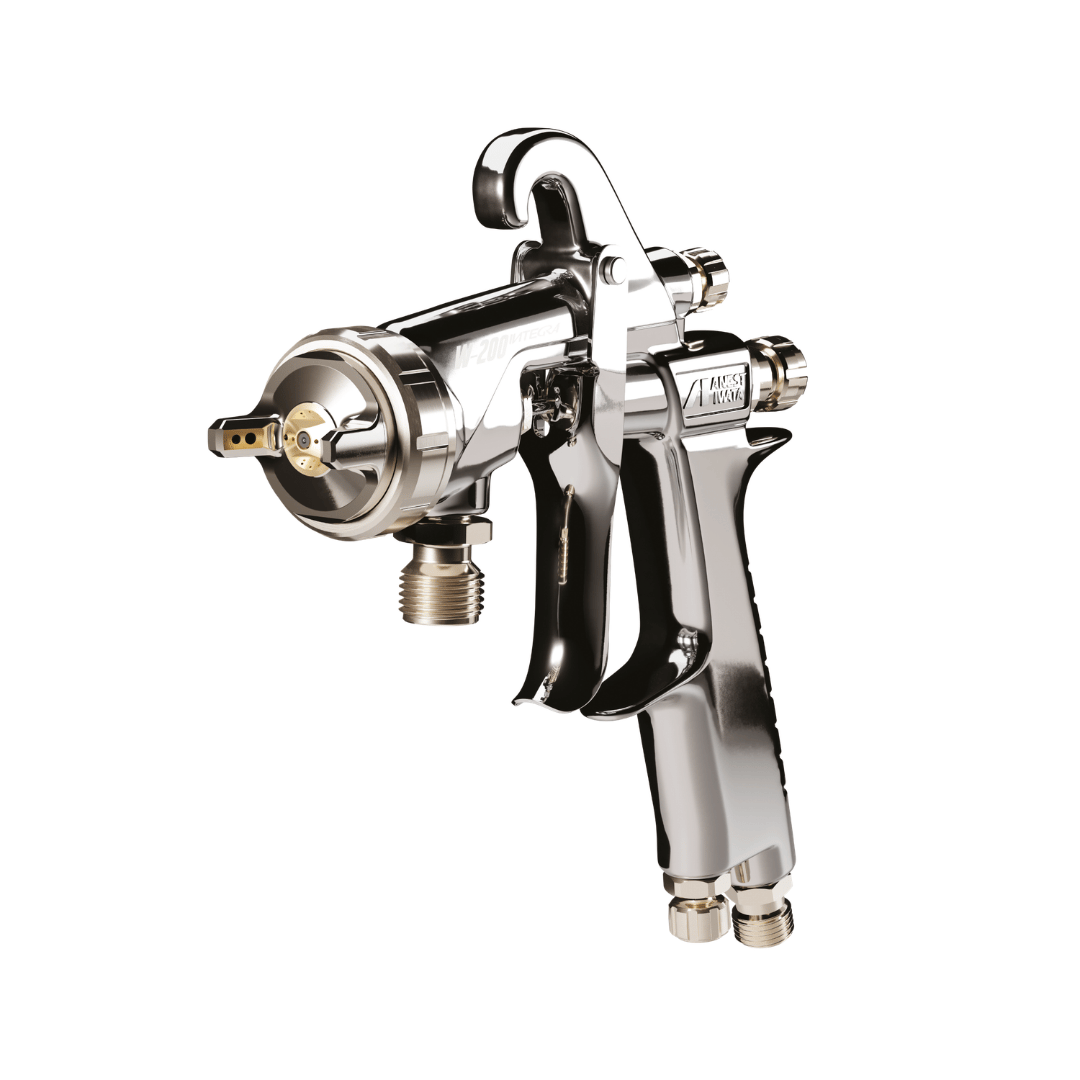
    On saleAnest Iwata W-200 Integra Pressure/Suction Spray Gun (Split Nozzle or Flat Tip Nozzle, 0.8mm - 2.5mm Nozzle Size)
    21 Sizes Available
    Save 25%MP Ionising Spray Gun X-ION in carrying case for anti-static dust reduction in spray booths.
    MP

    MP Ionising Anti Static Gun X-ION

    Sale price£749.99 Regular price£999.99
    WAGNER SuperFinish 23 Pro HEA Spraypack Airless Sprayer
    WAGNER SuperFinish 21 Pro Airless Enamel Diaphragm Pump Sprayer
    WAGNER SuperFinish 21 Pro HEA Airless Diaphragm Pump Sprayer
    WAGNER Universal Airless Sprayer Control Pro 375 M
    WAGNER Universal Airless Sprayer Control Pro 275 M
    WAGNER SprayPack 18V Airless Sprayer Kit UK
    WAGNER FineCoat 9700 XVLP Paint Spray System (230V UK)
    WAGNER FinishControl 4000 18V FineSpray Kit UK
    WAGNER FinishControl 3500 Plus UK Paint Sprayer (230V)
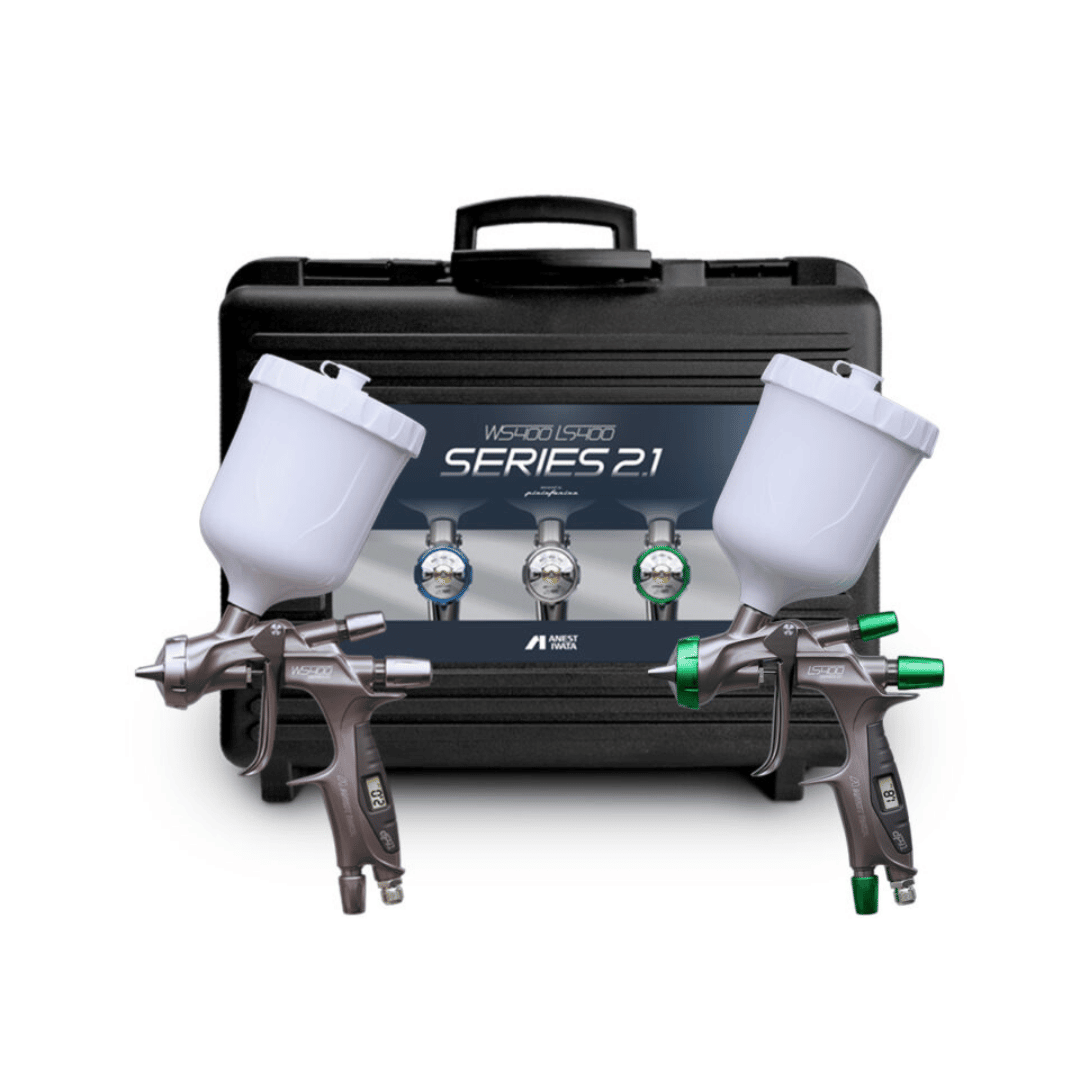
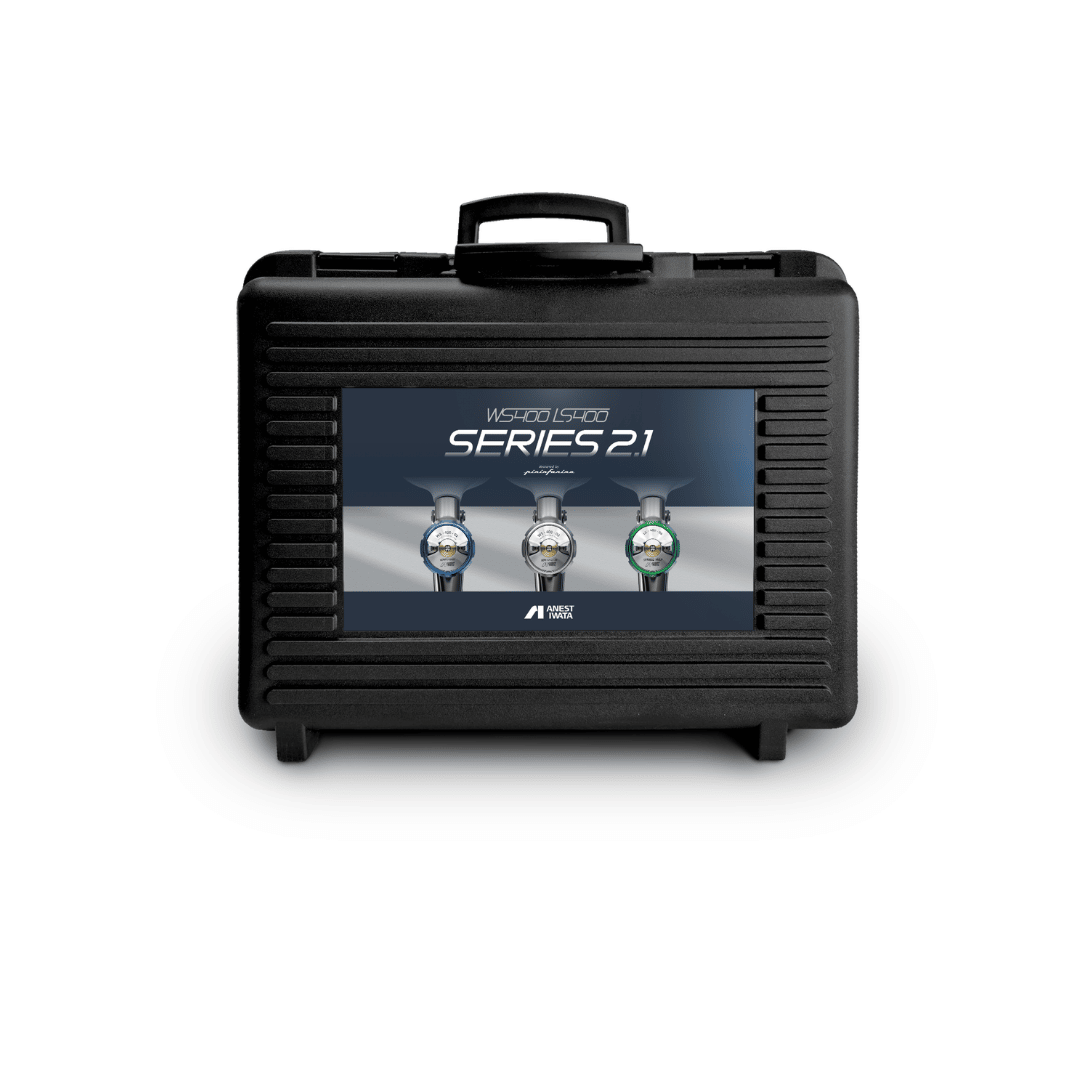
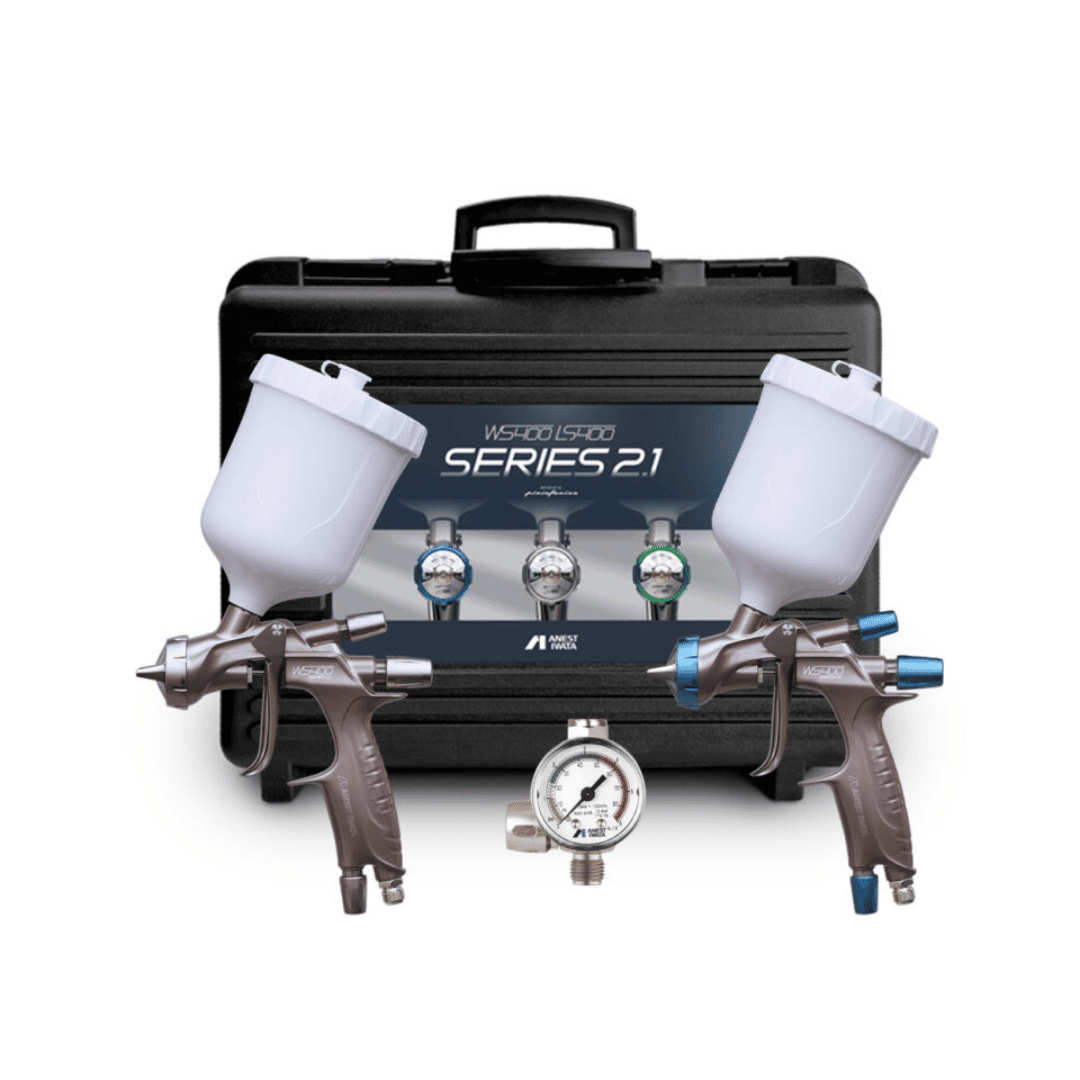
    Anest Iwata LS-400 Basecoat & WS-400 Clearcoat Series 2.1 Superior Set Spray Gun Kit
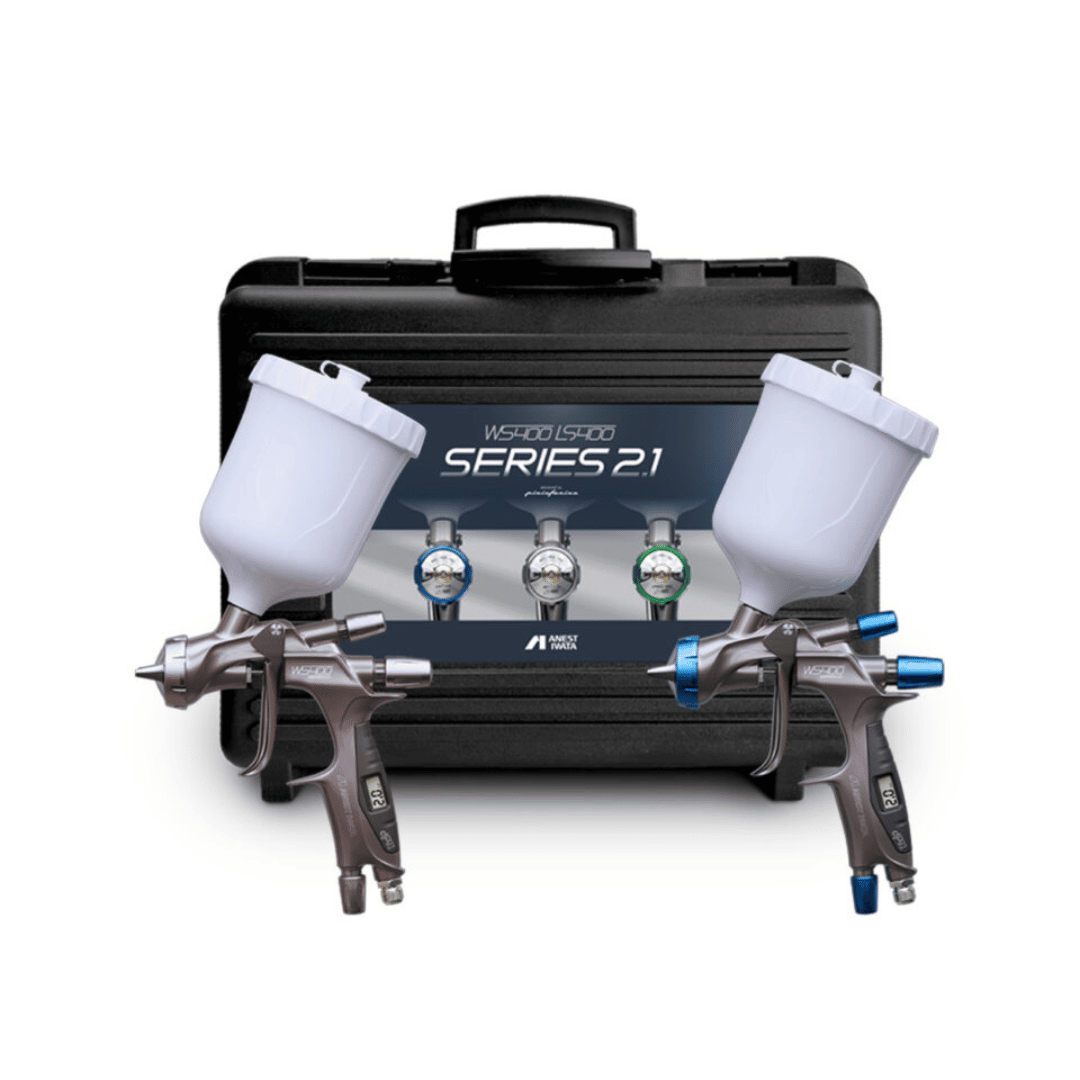
    Anest Iwata WS-400 Series 2.1 Superior Set Spray Gun Kit (Basecoat & Clearcoat)
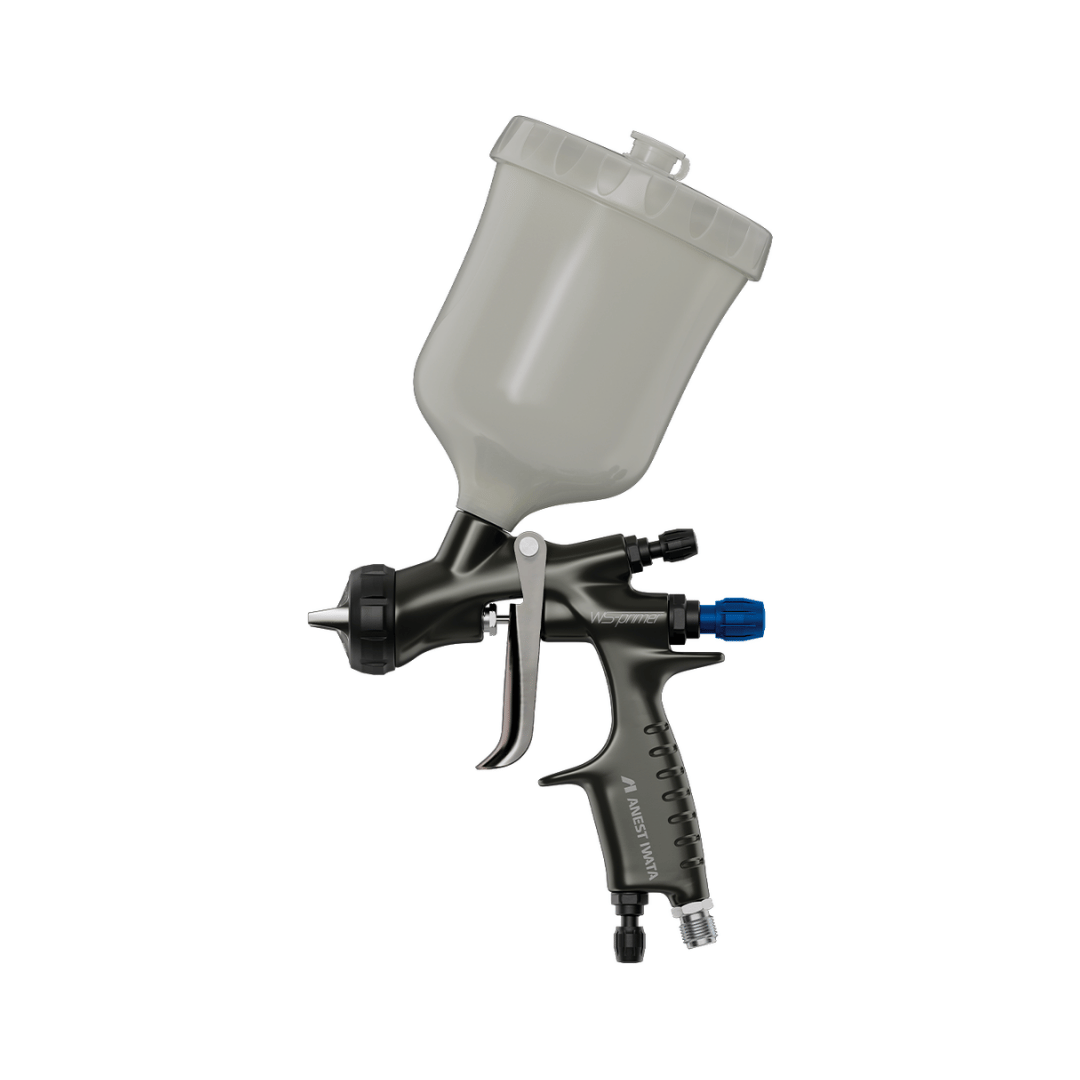
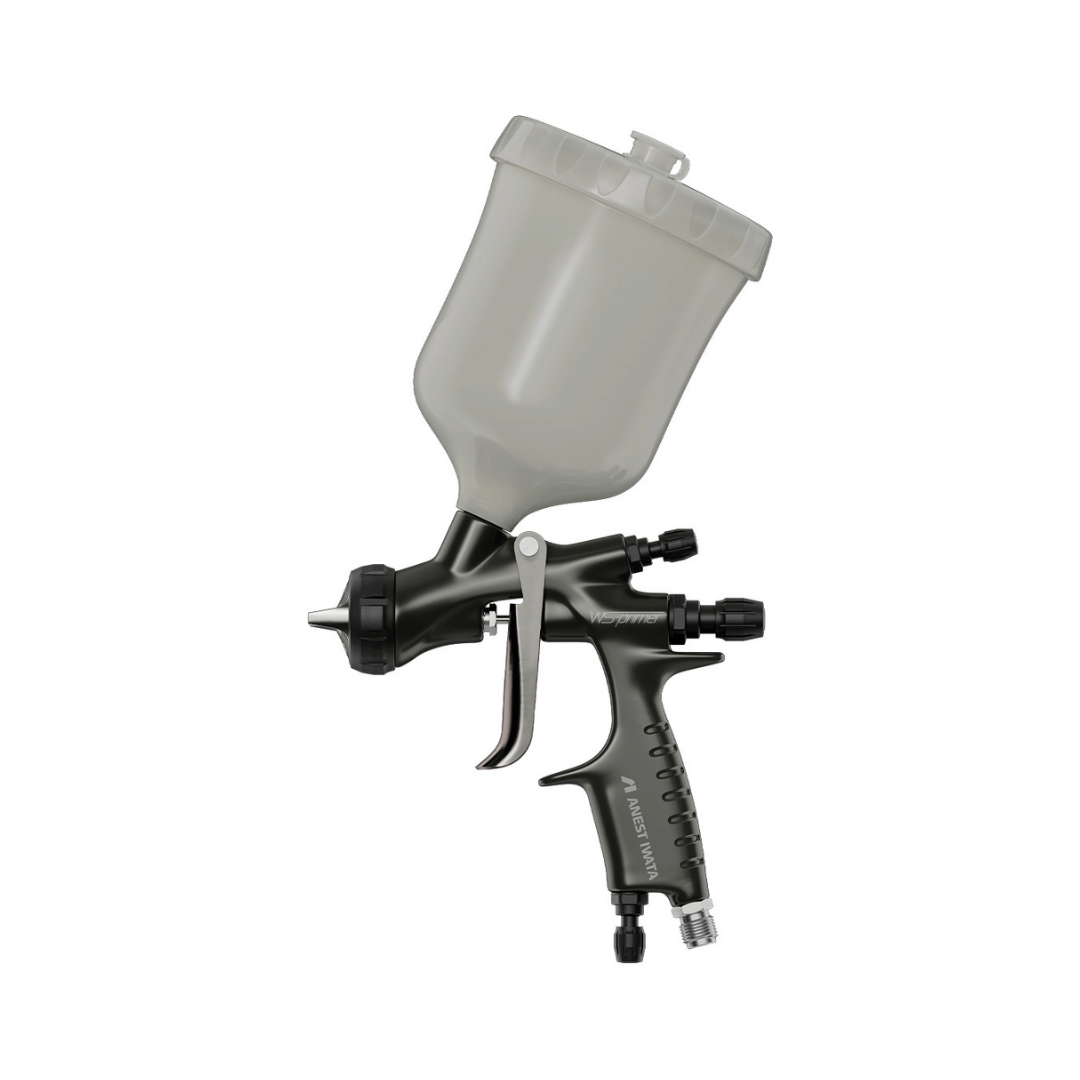
    Anest Iwata WS-Primer Spay Gun (Wet on Wet/Filler/UV) (1.2-1.8mm)
    7 Sizes Available
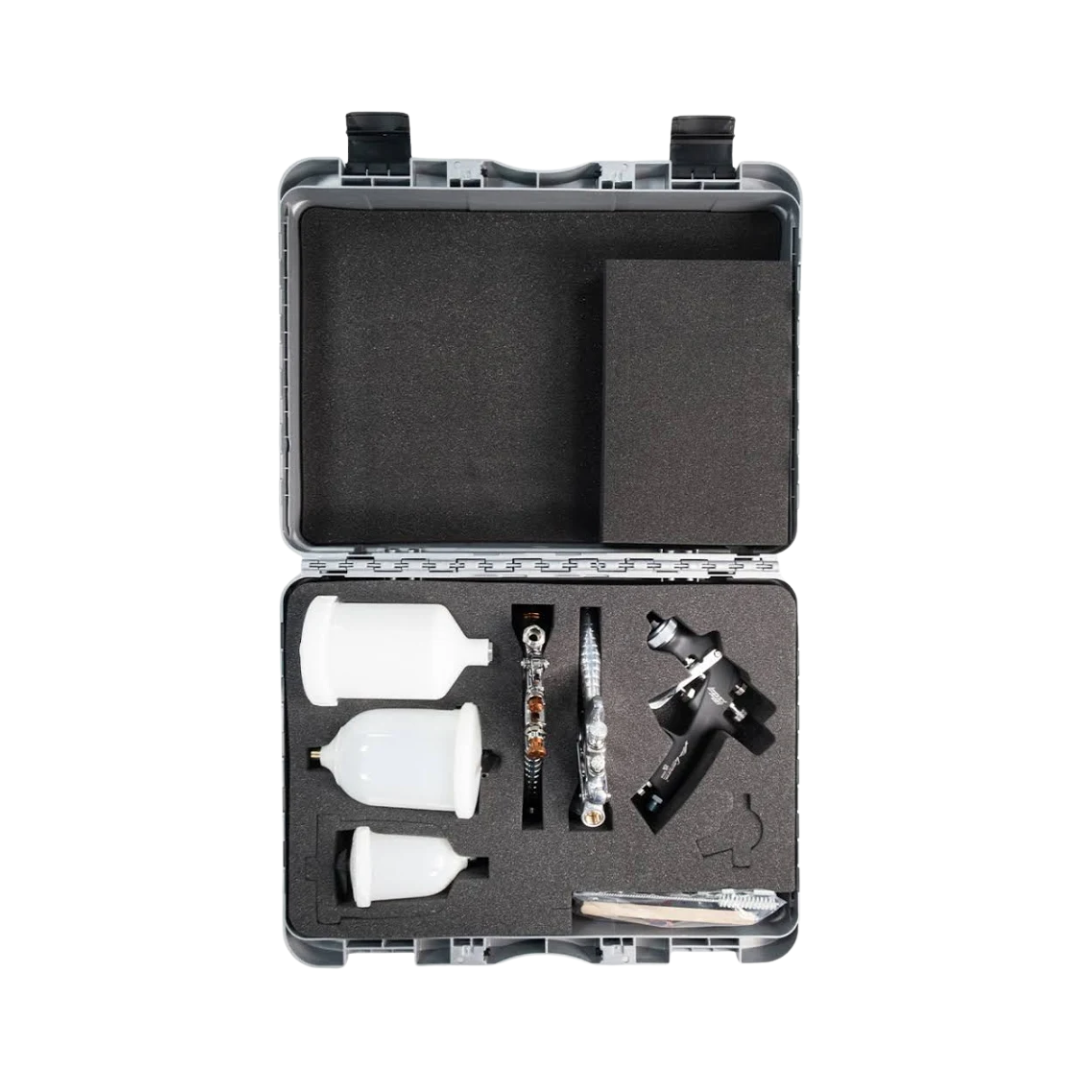
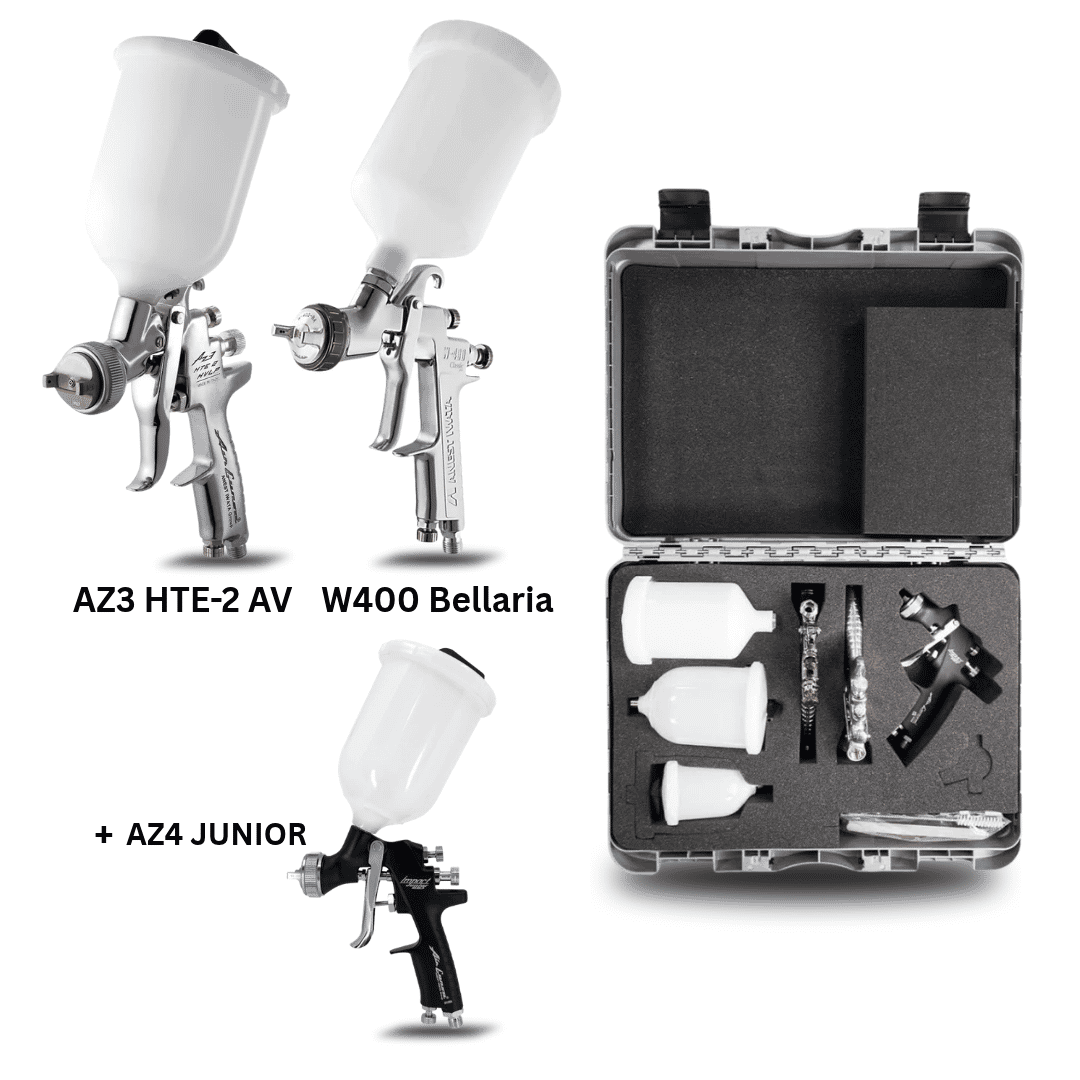
    Save 37%Anest Iwata W-400/AZ3/AZ4 Triple Kit
    Anest Iwata

    Anest Iwata W-400/AZ3/AZ4 Triple Kit

    Sale price£391.66 Regular price£619.97
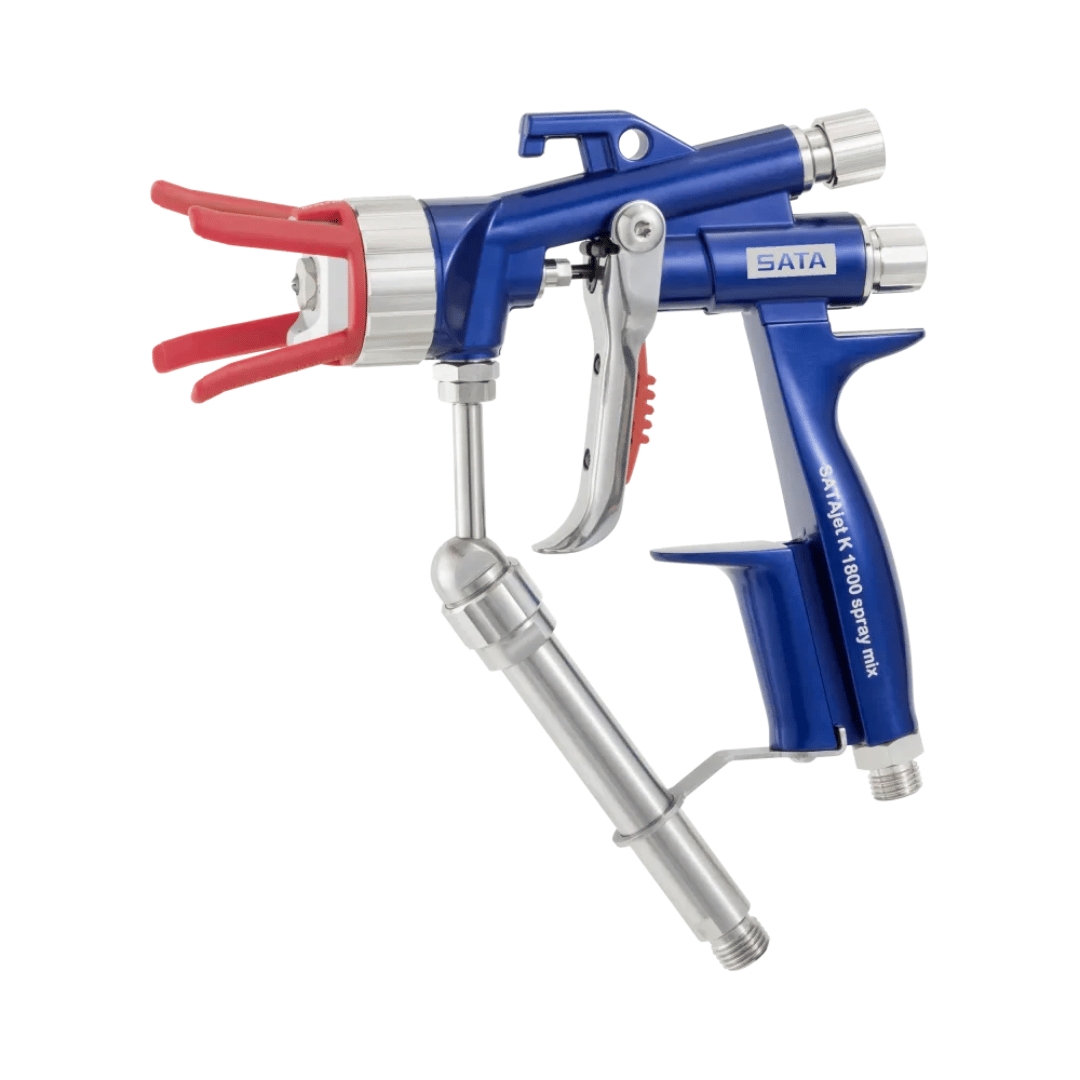
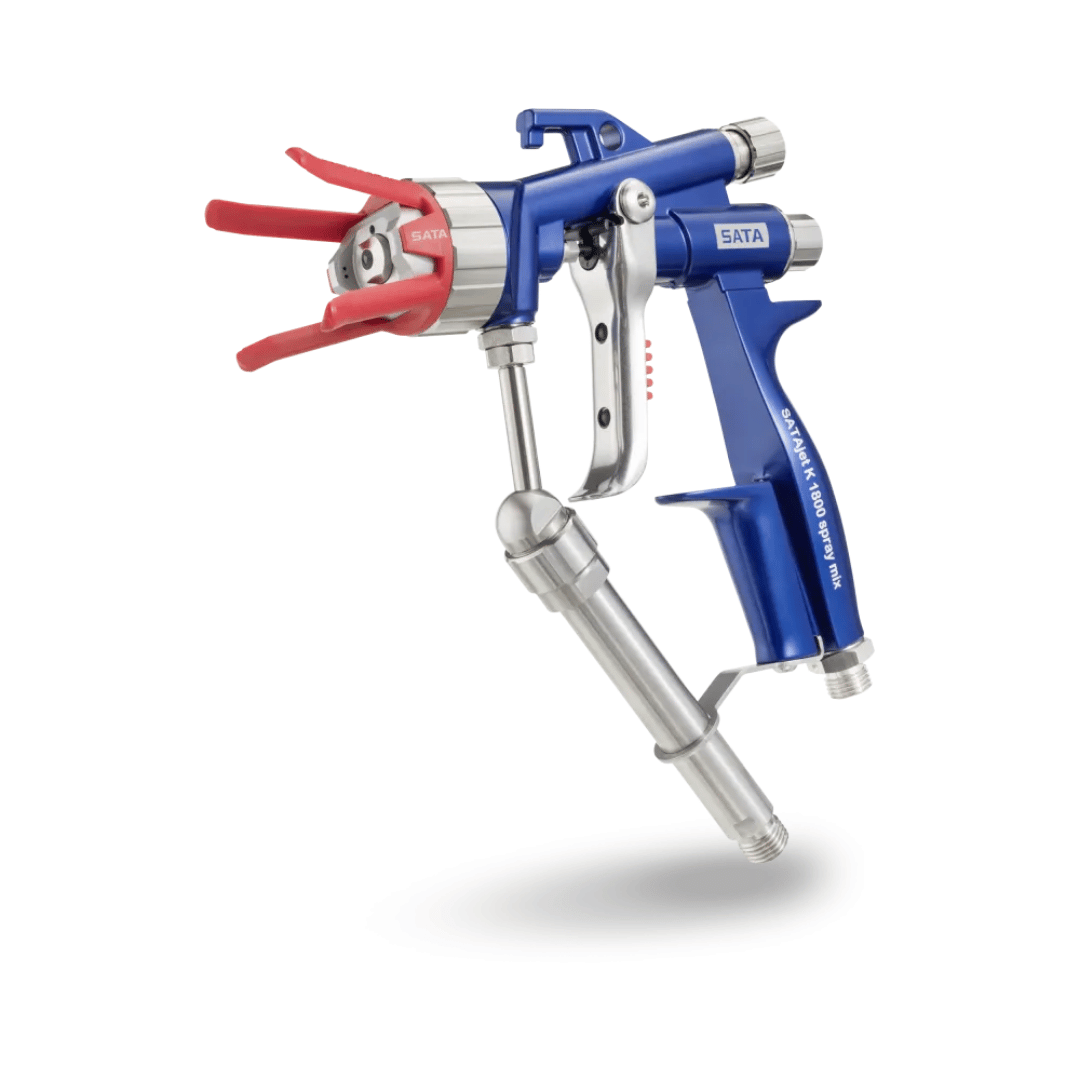
    SATAjet K 1800 Spray Mix (Long Filter Version)

    Spray Guns Frequently Asked Questions

    How do you paint using a spray gun?

    Using a spray gun effectively is a skill that delivers a finish unachievable by other methods. The technique is based on consistency in speed, distance, and overlap.

    1. Set Up Your Gun: Before you begin, adjust the air pressure, fan pattern, and fluid flow on your spray gun. Perform a quick test spray on a piece of cardboard to ensure the gun is atomising the paint correctly, creating a fine, even mist.
    2. Maintain Consistent Distance: Hold the spray gun perpendicular to the surface at a constant distance of about 6-10 inches (15-25cm). If you are too close, the paint will be too heavy and will run; too far, and the paint will be too dry and cause a rough texture.
    3. Keep a Steady Speed: Move the gun at a steady, consistent speed across the surface. Your arm should move parallel to the piece, not swing in an arc, to ensure even coverage.
    4. Master the Overlap: Each pass you make should overlap the previous one by about 50%. This is the key to avoiding visible stripes or bands in your finish.
    5. Trigger Control: A crucial professional technique is to start the airflow and begin moving the gun before you reach the edge of the panel, then pull the trigger to release paint. Continue spraying past the other edge before releasing the trigger. This prevents heavy build-ups of paint at the start and end of each pass.
    6. Apply Light Coats: Always aim to apply two to three light coats rather than one thick, heavy coat. This gives a much smoother finish and significantly reduces the risk of runs and sags.

    How do you thin paint for a spray gun?

    Thinning paint to the correct viscosity is one of the most critical steps for achieving a perfect spray finish. Most paints are too thick out of the tin to be atomised properly by a spray gun, and thinning ensures the paint flows correctly and creates a fine mist.

    Check the Technical Data Sheet (TDS): The paint manufacturer will almost always provide a recommended thinning ratio, often as a percentage (e.g., "thin by 10%"). This is the best place to start.

    Use a Viscosity Cup: For precise, repeatable results, use a viscosity cup (like a DIN cup). You fill the cup and time how long it takes for the paint to empty. The TDS will specify the target time in seconds.

    Use the Stir-Stick Method: As a practical alternative, start by adding a small amount of thinner (around 5-10%) and mix well. Dip a mixing stick into the paint and lift it out. Observe how it runs off. If it's too thick, it will be lumpy and ropy. If it's too thin, it will run off like water. The perfect consistency is a smooth, continuous, unbroken stream. Continue to add small amounts of thinner and re-test until you achieve this.

    How do you clean a spray paint gun?

    Cleaning your spray gun immediately and thoroughly after every use is non-negotiable. It is the single most important factor in maintaining its performance and ensuring it works perfectly for your next project.

    1. Safety First: Work in a well-ventilated area and wear appropriate gloves to protect your skin from solvents.
    2. Empty and Flush: Empty any leftover paint from the cup. Pour a small amount of the correct cleaning solvent into the cup, swirl it, reattach the cup, and spray the solvent through the gun into a waste container until it runs clear.
    3. Complete Disassembly: You must take the "wet parts" of the gun apart. Unscrew the air cap from the front, then carefully remove the fluid nozzle and the fluid needle from the back.
    4. Clean Every Component: Using a dedicated gun cleaning kit with brushes and picks, thoroughly scrub the disassembled air cap, nozzle, and needle with your cleaning solvent. Ensure every small hole is completely free of paint, and also clean the inside of the paint cup and the gun's internal passages.
    5. Reassemble and Final Flush: Once all components are spotless, reassemble the gun. Put a small amount of clean solvent into the cup and spray it through one last time to ensure all passages are clear and lubricated.

    Crucial Tip: Never soak the entire spray gun in thinner, and never use hard metal objects like paperclips to clean the nozzle, as this can easily cause permanent damage.

    Recently viewed