Skip to content
  • Cart

    Your cart is empty

    Paint Tools and Equipment

    Sort by

    ANEST IWATA AquaDry Paint Dryer Gun ADG-1B showcasing the high-performance drying system for water-based coatings.
    Save 38%MP Sealer Gun Skeleton - Manual cartridge applicator with drip blocker for sealants and adhesives.
    MP

    MP Sealer Gun Skeleton

    Sale price£2.99 Regular price£4.86
    Save 16%MP Clay Bar Blue and a red clay bar in a clear container for automotive detailing.
    MP

    MP Clay Bar Blue

    Sale price£8.99 Regular price£10.73
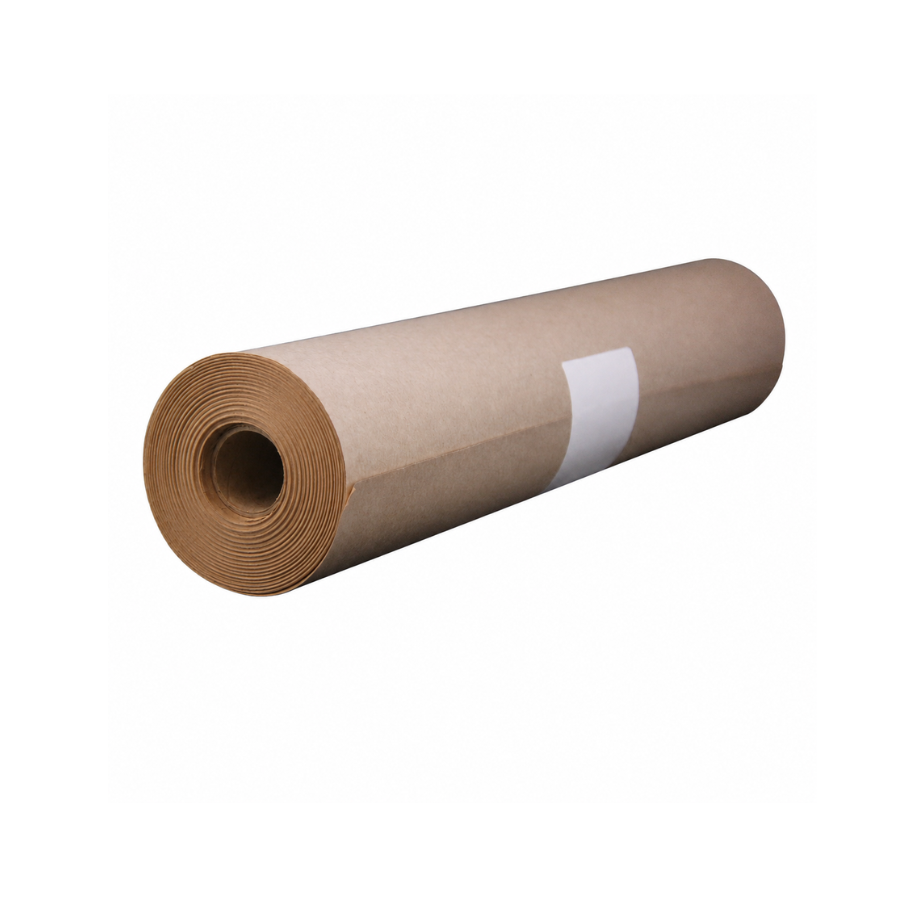
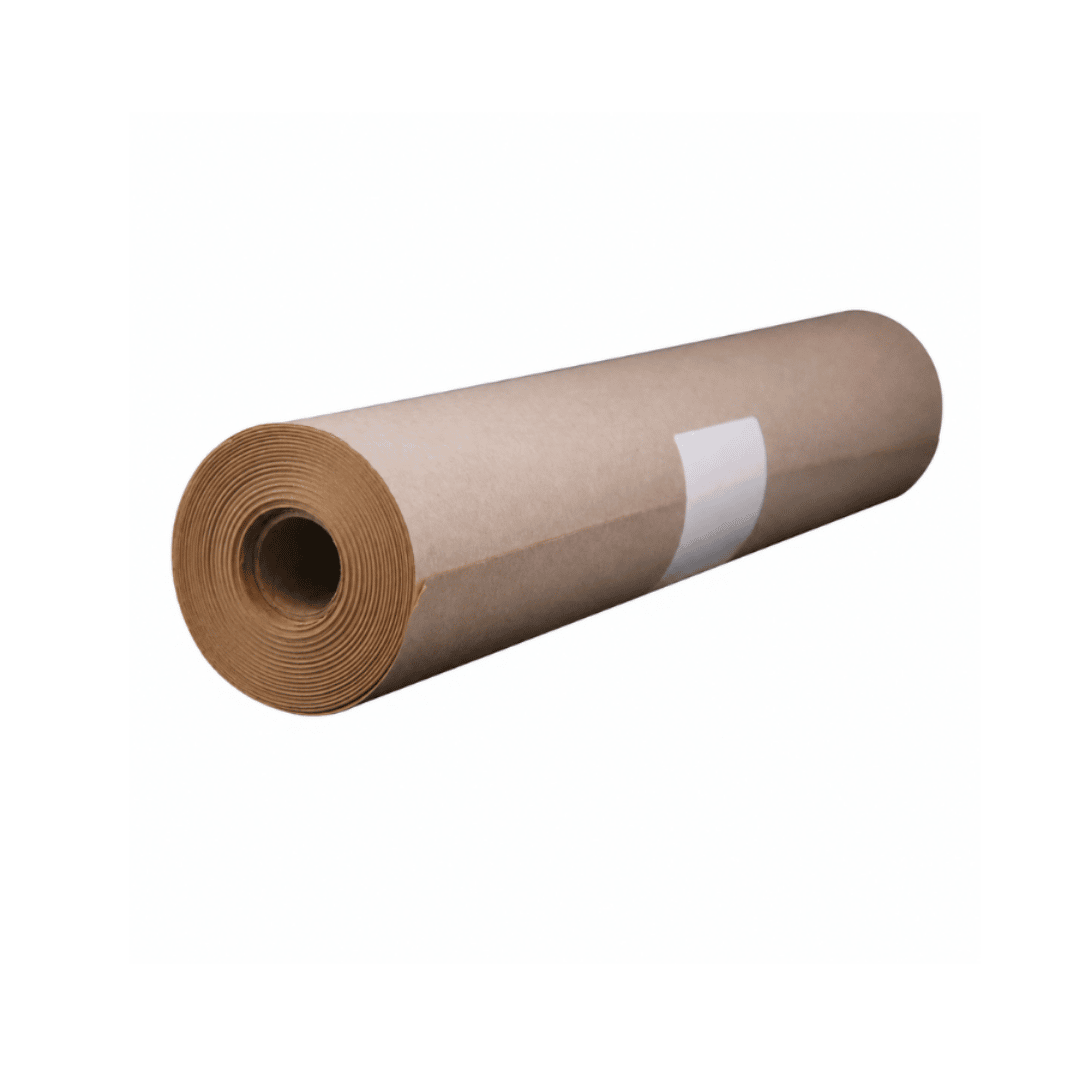
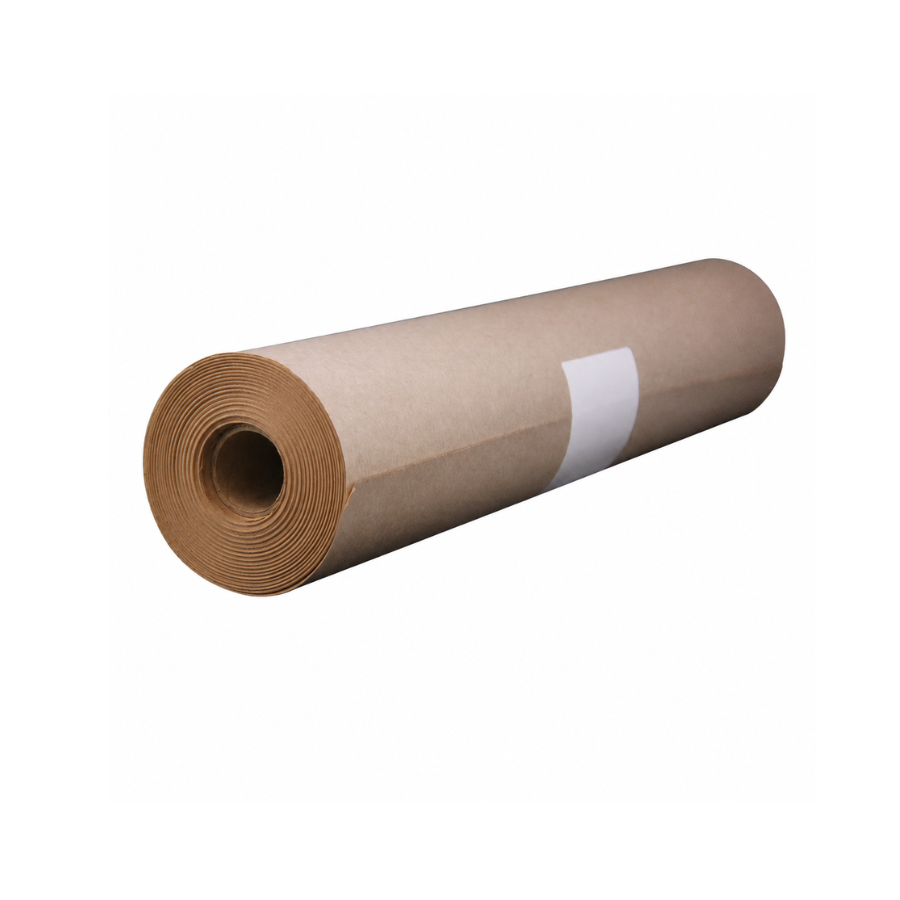
    MP Masking Paper Roll Powergrade shown in a vertical position on a white background.
    Save 41%MP Fineline Tape 55m x 3mm Roll Green displayed on a white background, showcasing its precision design and flexibility.
    MP

    MP Fineline Tape (55m x 3mm)

    Sale price£2.49 Regular price£4.19
    Save 19%MP Masking Cover Light 150m x 400cm Roll - lightweight film for vehicle masking.
    MP

    MP Masking Cover Light (150m x 400cm)

    Sale price£22.99 Regular price£28.32
    On saleMP Masking Paper 48 Inch rolls stacked in various sizes for efficient painting and refinishing projects.
    MP

    MP Masking Paper

    Sale priceFrom £14.99 Regular price£17.68
    (5.0)
    On saleMP Masking Paper Roll Powergrade - High-performance masking paper roll for professional use.
    MP

    MP Masking Paper Roll Powergrade

    Sale priceFrom £12.99 Regular price£15.00
    Save 29%MP 14 Hole 70 x 420mm Strips 60g Velcro – Premium abrasive sanding strip with Velcro backing.
    Save 62%MP Antidust 70 x 198mm 8 Hole Velcro MP
    MP Dry Guidecoat Black C/W Applicator MP
    MP Finish Disc Plus 150mm P2000 Orange MP
    Save 14%MP Goldfilm 70 x 198mm 8 Hole Velcro P150 MP
    Save 49%MP Interface Pad 150mm 75 Hole MP
    MP

    MP Interface Sanding Pad 150mm 75 Hole

    Sale price£3.99 Regular price£7.76
    Save 14%MP Non-Woven Abrasive Pad 115 x 280mm Ultra Fine (Grey) MP
    Save 11%MP Non-Woven Abrasive Roll 10M 100 mm x 10 m Very Fine (Red) MP

    Paint Tools and Equipment Frequently Asked Questions

    How do you clean paint tools & equipment?

    Properly cleaning your tools immediately after use is the best way to protect your investment and ensure they perform perfectly for your next project. The cleaning method depends entirely on the type of paint you have used.

    For Water-Based Paints (Emulsion, Acrylics):

    1. Remove Excess Paint: Scrape as much paint as possible from brushes and rollers back into the tin.
    2. Wash Thoroughly: Use warm, soapy water. For brushes, work the bristles against the bottom of a bucket to loosen the paint. For rollers, remove the sleeve and wash it until the water runs clear.
    3. Rinse and Dry: Rinse thoroughly with clean water, shake out the excess, and hang brushes or stand rollers on their end to dry completely. A brush comb can help reshape the bristles.

    For Solvent-Based Paints (Oil-Based, Enamels, 2K):

    1. Safety First: Work in a well-ventilated area and wear solvent-resistant gloves.
    2. Use the Right Thinner: Pour a small amount of the appropriate paint thinner or brush cleaner into a jar or old tin.
    3. Clean the Tool: Work the brush or roller in the thinner until the paint dissolves. You may need to repeat this with a second, cleaner batch of thinner for a perfect result.
    4. Final Wash & Dry: Once clean, you can give the tools a final wash in warm soapy water to remove the solvent residue. Shake out the excess and allow them to dry completely before storing.

    What tools and equipment do you need for painting?

    Having the right tools is essential for any painting project, big or small. A good toolkit not only makes the job easier but also drastically improves the quality of your final finish. Here is a checklist of essential equipment:

    1. Surface Preparation (The most important stage):

    • Dust Sheets & Paint Protection: To protect your floors, furniture, and belongings.
    • Masking Tape: For creating sharp, clean lines and protecting edges, windows, and trim.
    • Sandpaper or Sanding Blocks: Essential for "keying" the surface for adhesion and smoothing imperfections.
    • Degreaser & Cleaning Cloths: To ensure the surface is completely free of dirt and grease.
    • Filler: For repairing any cracks, holes, or dents before you start.

    2. Paint Application:

    • Paint Brushes: A selection of high-quality brushes in various sizes is crucial.
    • Paint Rollers & Trays: For efficiently painting large, flat surfaces like walls and ceilings.
    • Paint Scuttle or Kettle: For decanting paint to make it easier to work with.
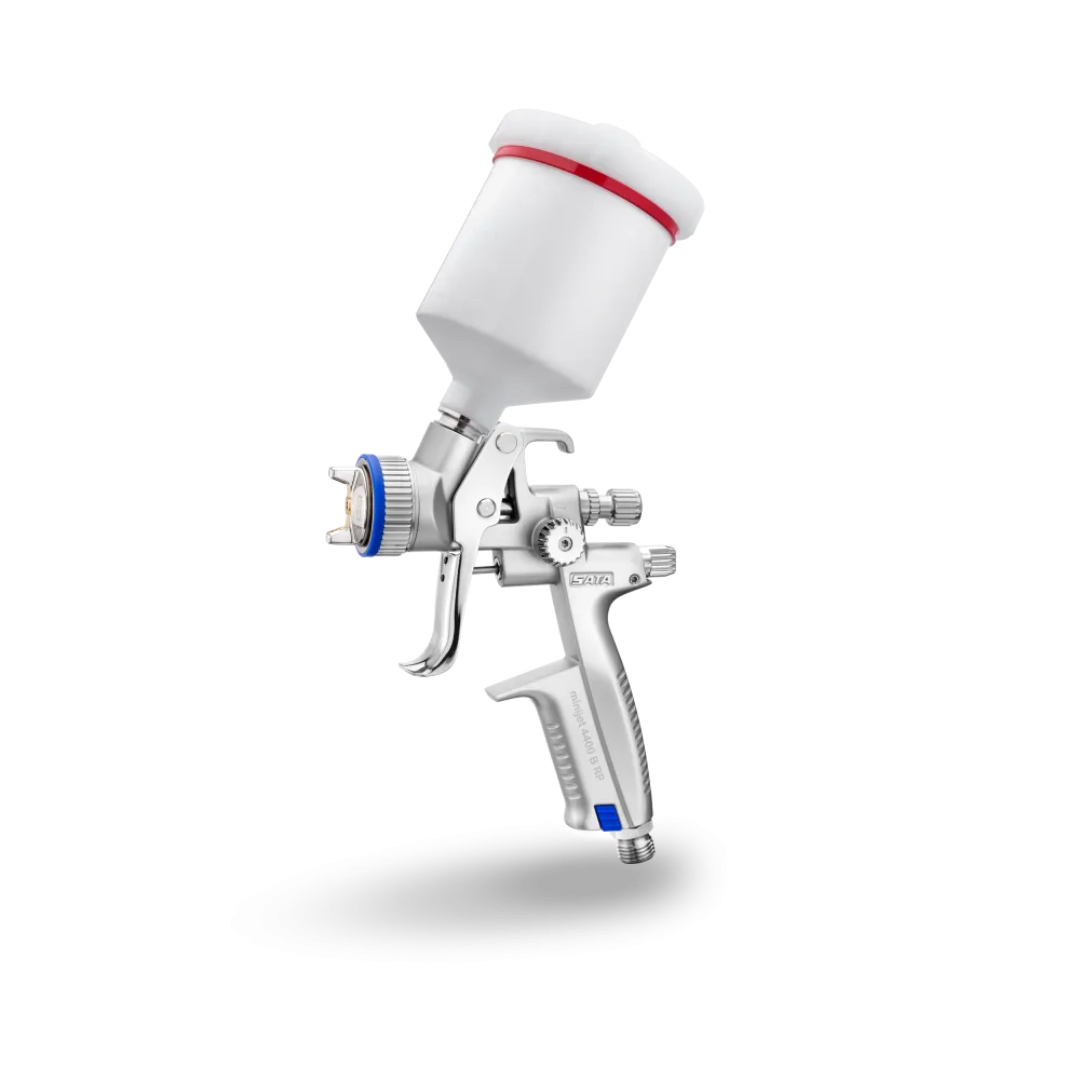
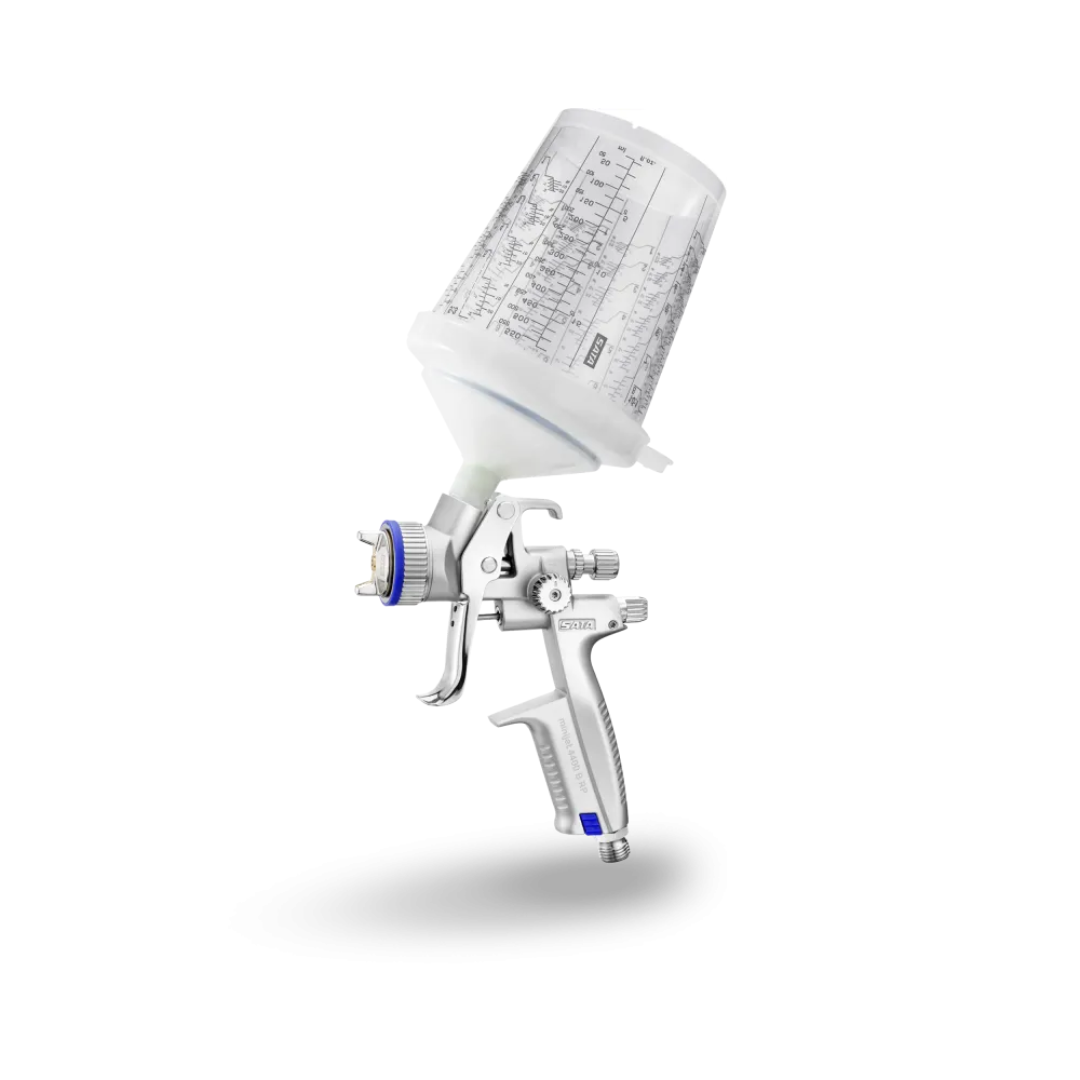
    • Spray Gun Equipment: For larger projects or for achieving the ultimate smooth finish (requires a compressor, hoses, etc.).

    3. Safety & Cleaning:

    • Gloves: To protect your hands from paint and cleaning chemicals.
    • Goggles: To protect your eyes from splashes and fumes.
    • Mask / Respirator: Essential when sanding or spray painting to protect your lungs from dust and harmful vapours.
    • Paint Thinners & Cleaners: For cleaning solvent-based paints from your tools.

    How do you remove spray paint from tools?

    Cleaning spray paint from tools, especially spray guns, is vital for maintaining their performance. The method depends on whether the paint is wet or has already hardened.

    For Wet Spray Paint (Immediately after use):

    This is the easiest time to clean. The cleaning agent depends on the paint you used:

    • Water-Based Spray Paint: Flush the equipment with water until it runs clear.
    • Solvent-Based Spray Paint (including 2K and cellulose): You must use a dedicated gun wash or the appropriate thinner for the paint. Run the thinner through the spray gun until all traces of colour are gone. Disassemble the nozzle and air cap and clean them separately.

    For Cured / Hardened Spray Paint:

    This is more difficult and requires stronger solvents and more time.

    1. Disassemble: Take apart the spray gun nozzle, air cap, and needle. For other tools, remove any plastic or rubber parts that could be damaged by the solvent.
    2. Soak the Parts: Submerge the metal components in a powerful gun wash or a paint stripper. Let them soak for several hours or even overnight. This will soften and break down the hardened paint.
    3. Mechanical Cleaning: After soaking, use a spray gun cleaning kit, which includes small brushes, picks, and needles. Gently scrub and pick away the softened paint from all the small orifices and threads. Never use a hard metal tool that could scratch or damage the delicate parts.
    4. Final Flush: Once all the cured paint is removed, reassemble the tool and give it a final flush with clean thinner to remove any last residue.

    Recently viewed